When designing the floor for my mobile sauna I had a few musts:
- It should withstand decades of abuse on harsh New England winter roads.
- The changing/resting room should keep feet warm.
- When rolling down the highway, the floor and building should stay on the trailer.
- In the future, if we decide we want to put the sauna in a fixed location, the entire thing should easily come off the trailer. (With a machine.)
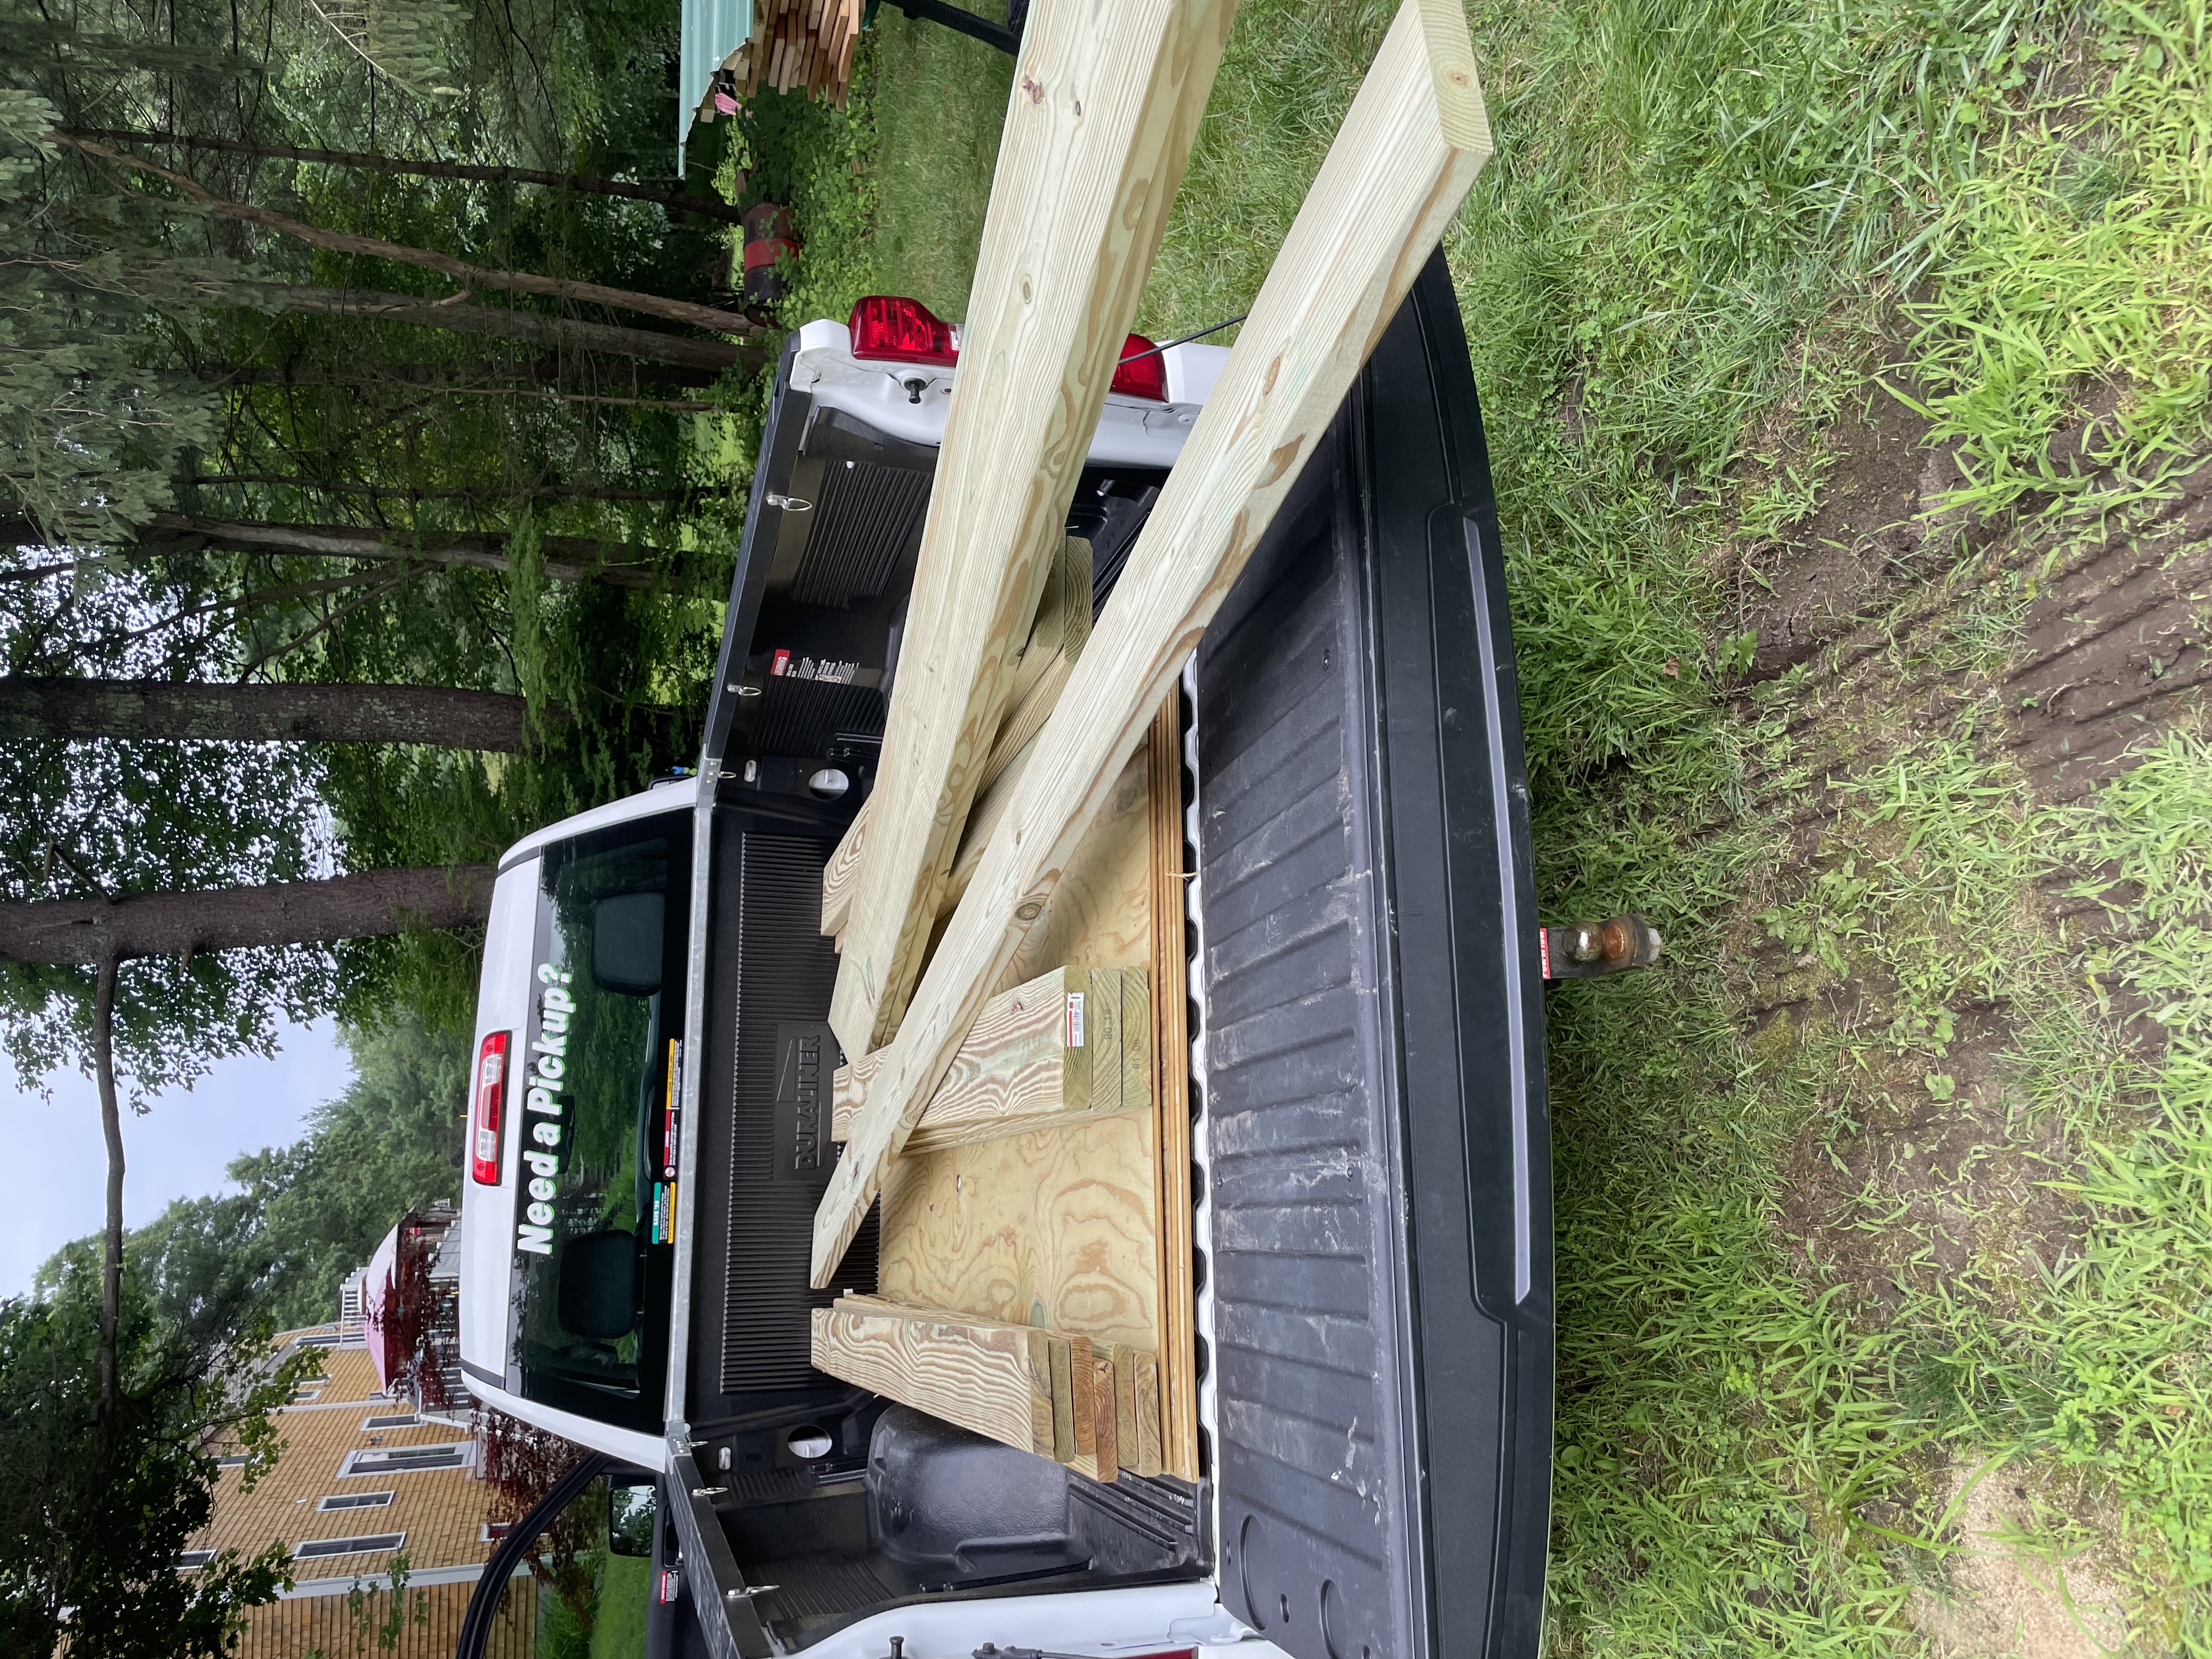
At the height of the lumber shortage I made a run for some pressure treated lumber. I knew it would be high but was still surprised this load was just over $700.
My trailer is home made and for whatever reason it has these 6 poles sticking up. I think it was made for a boat.
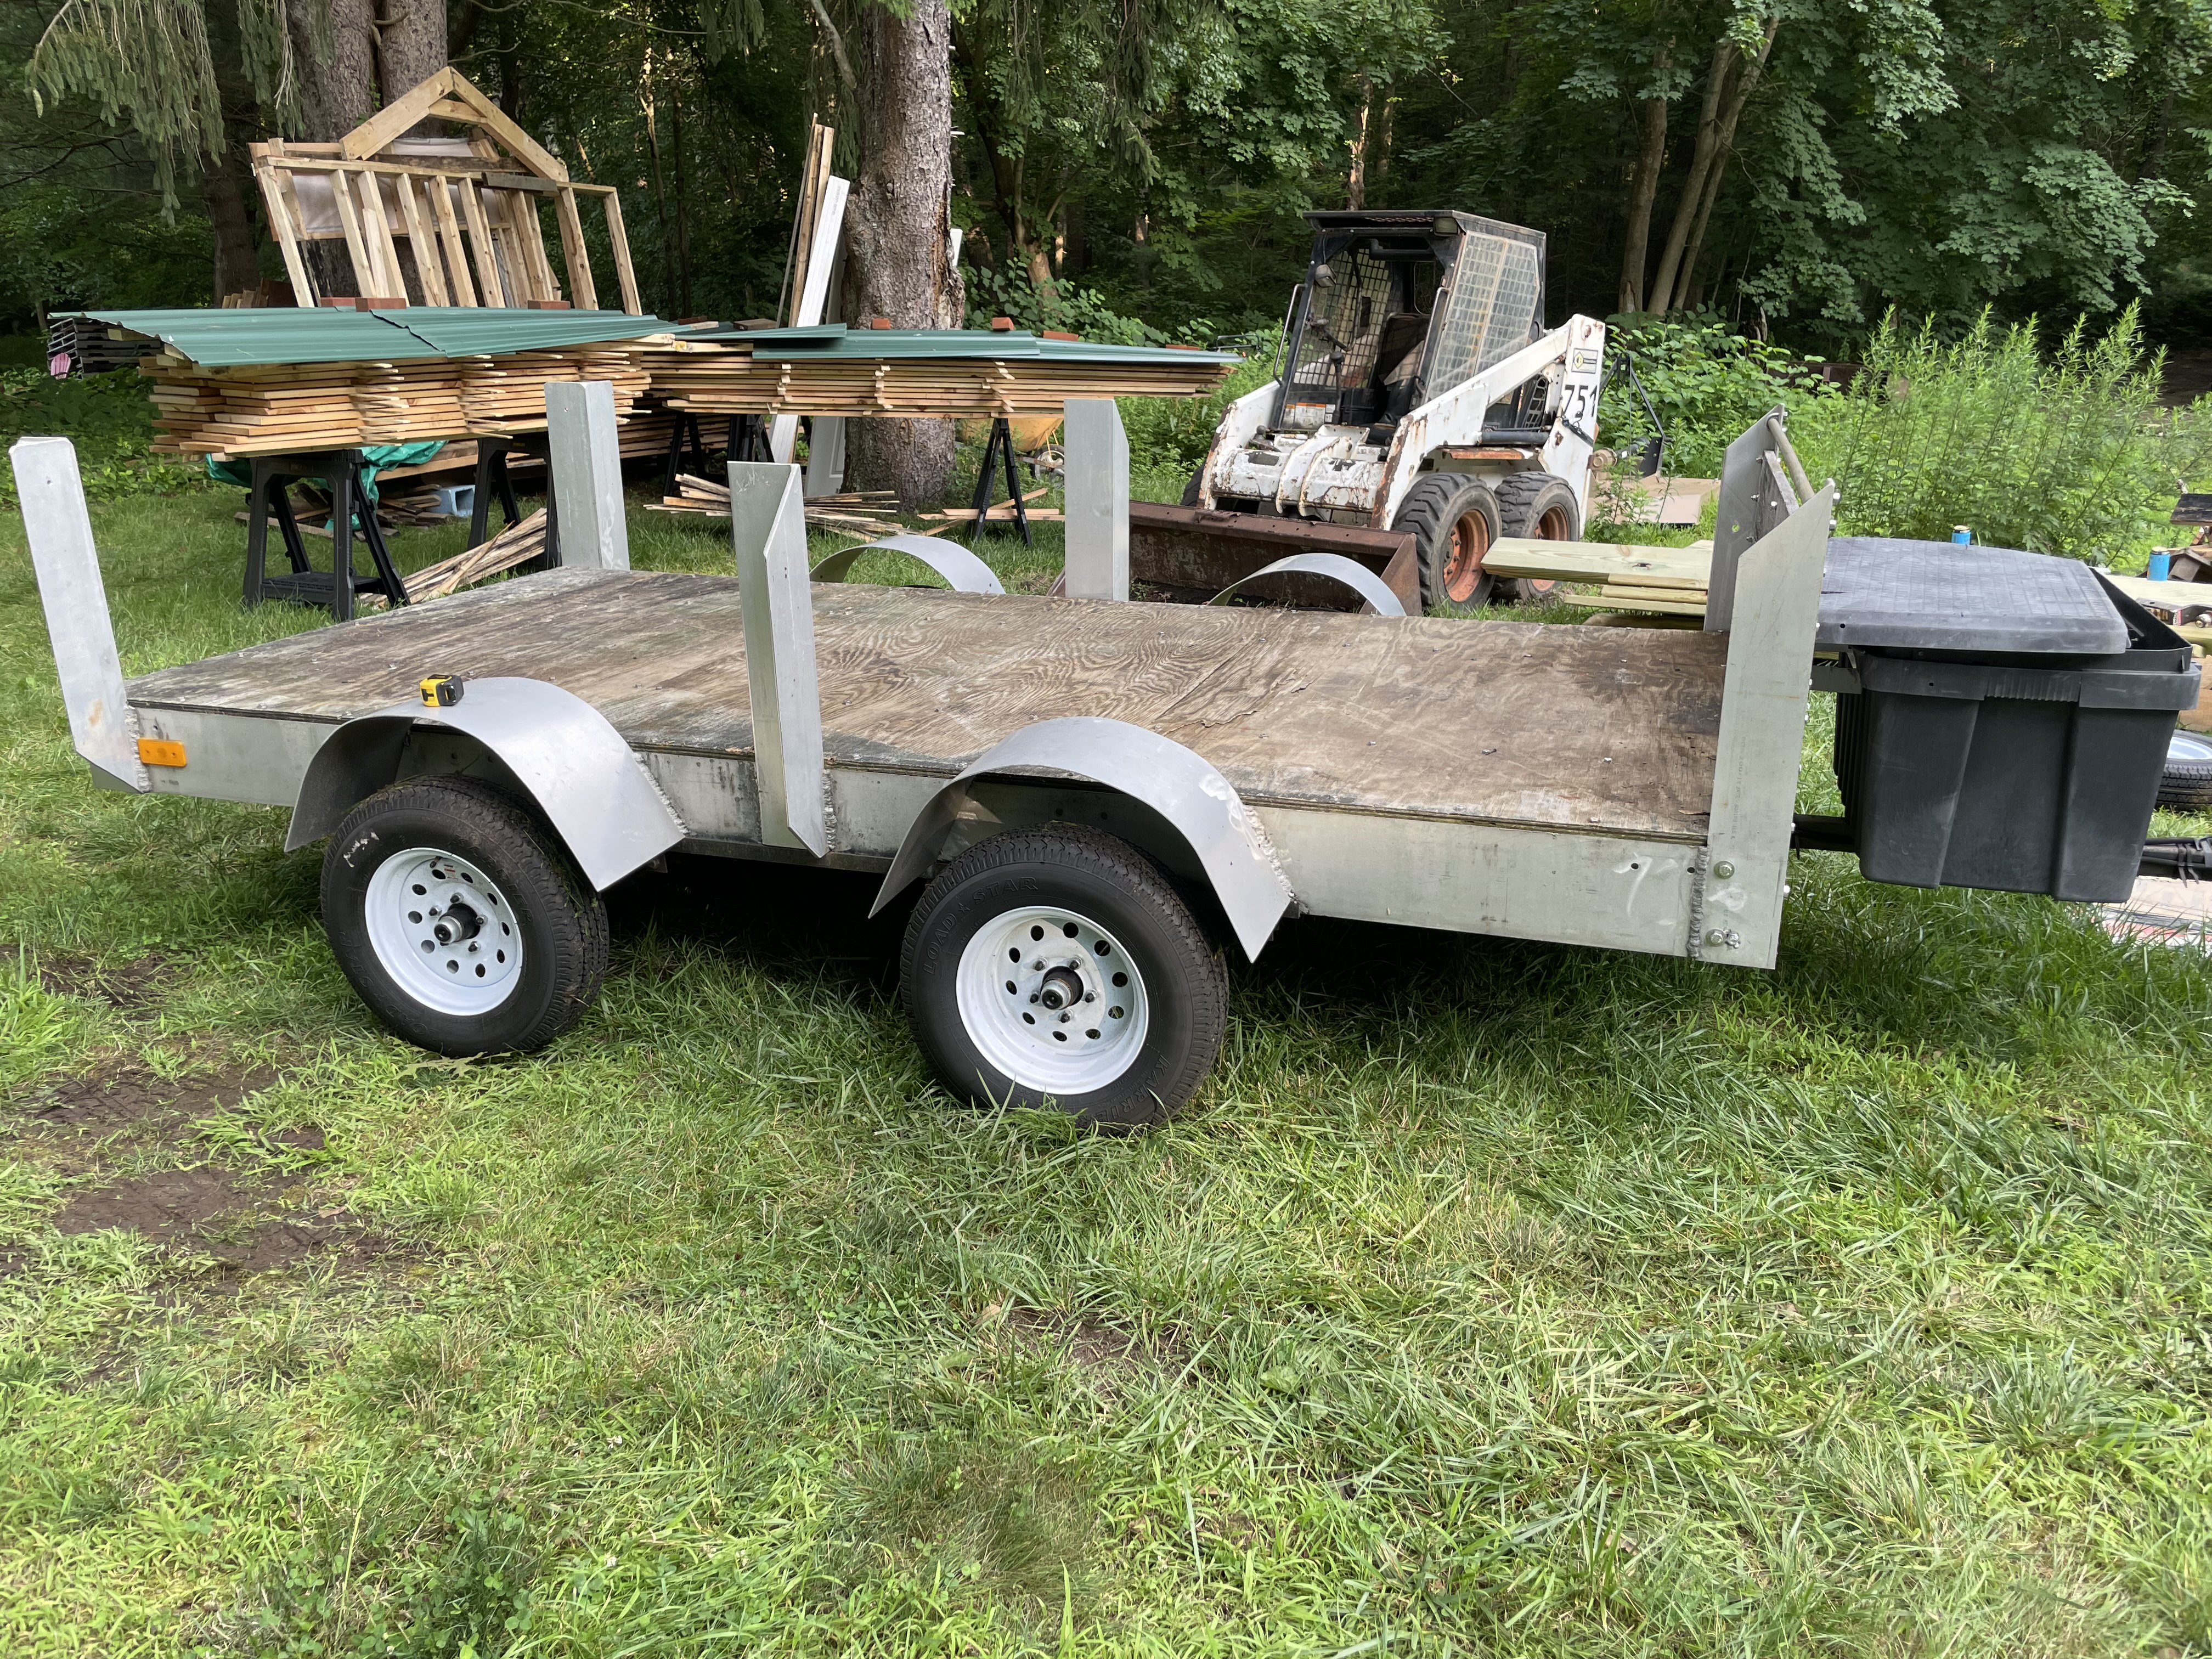
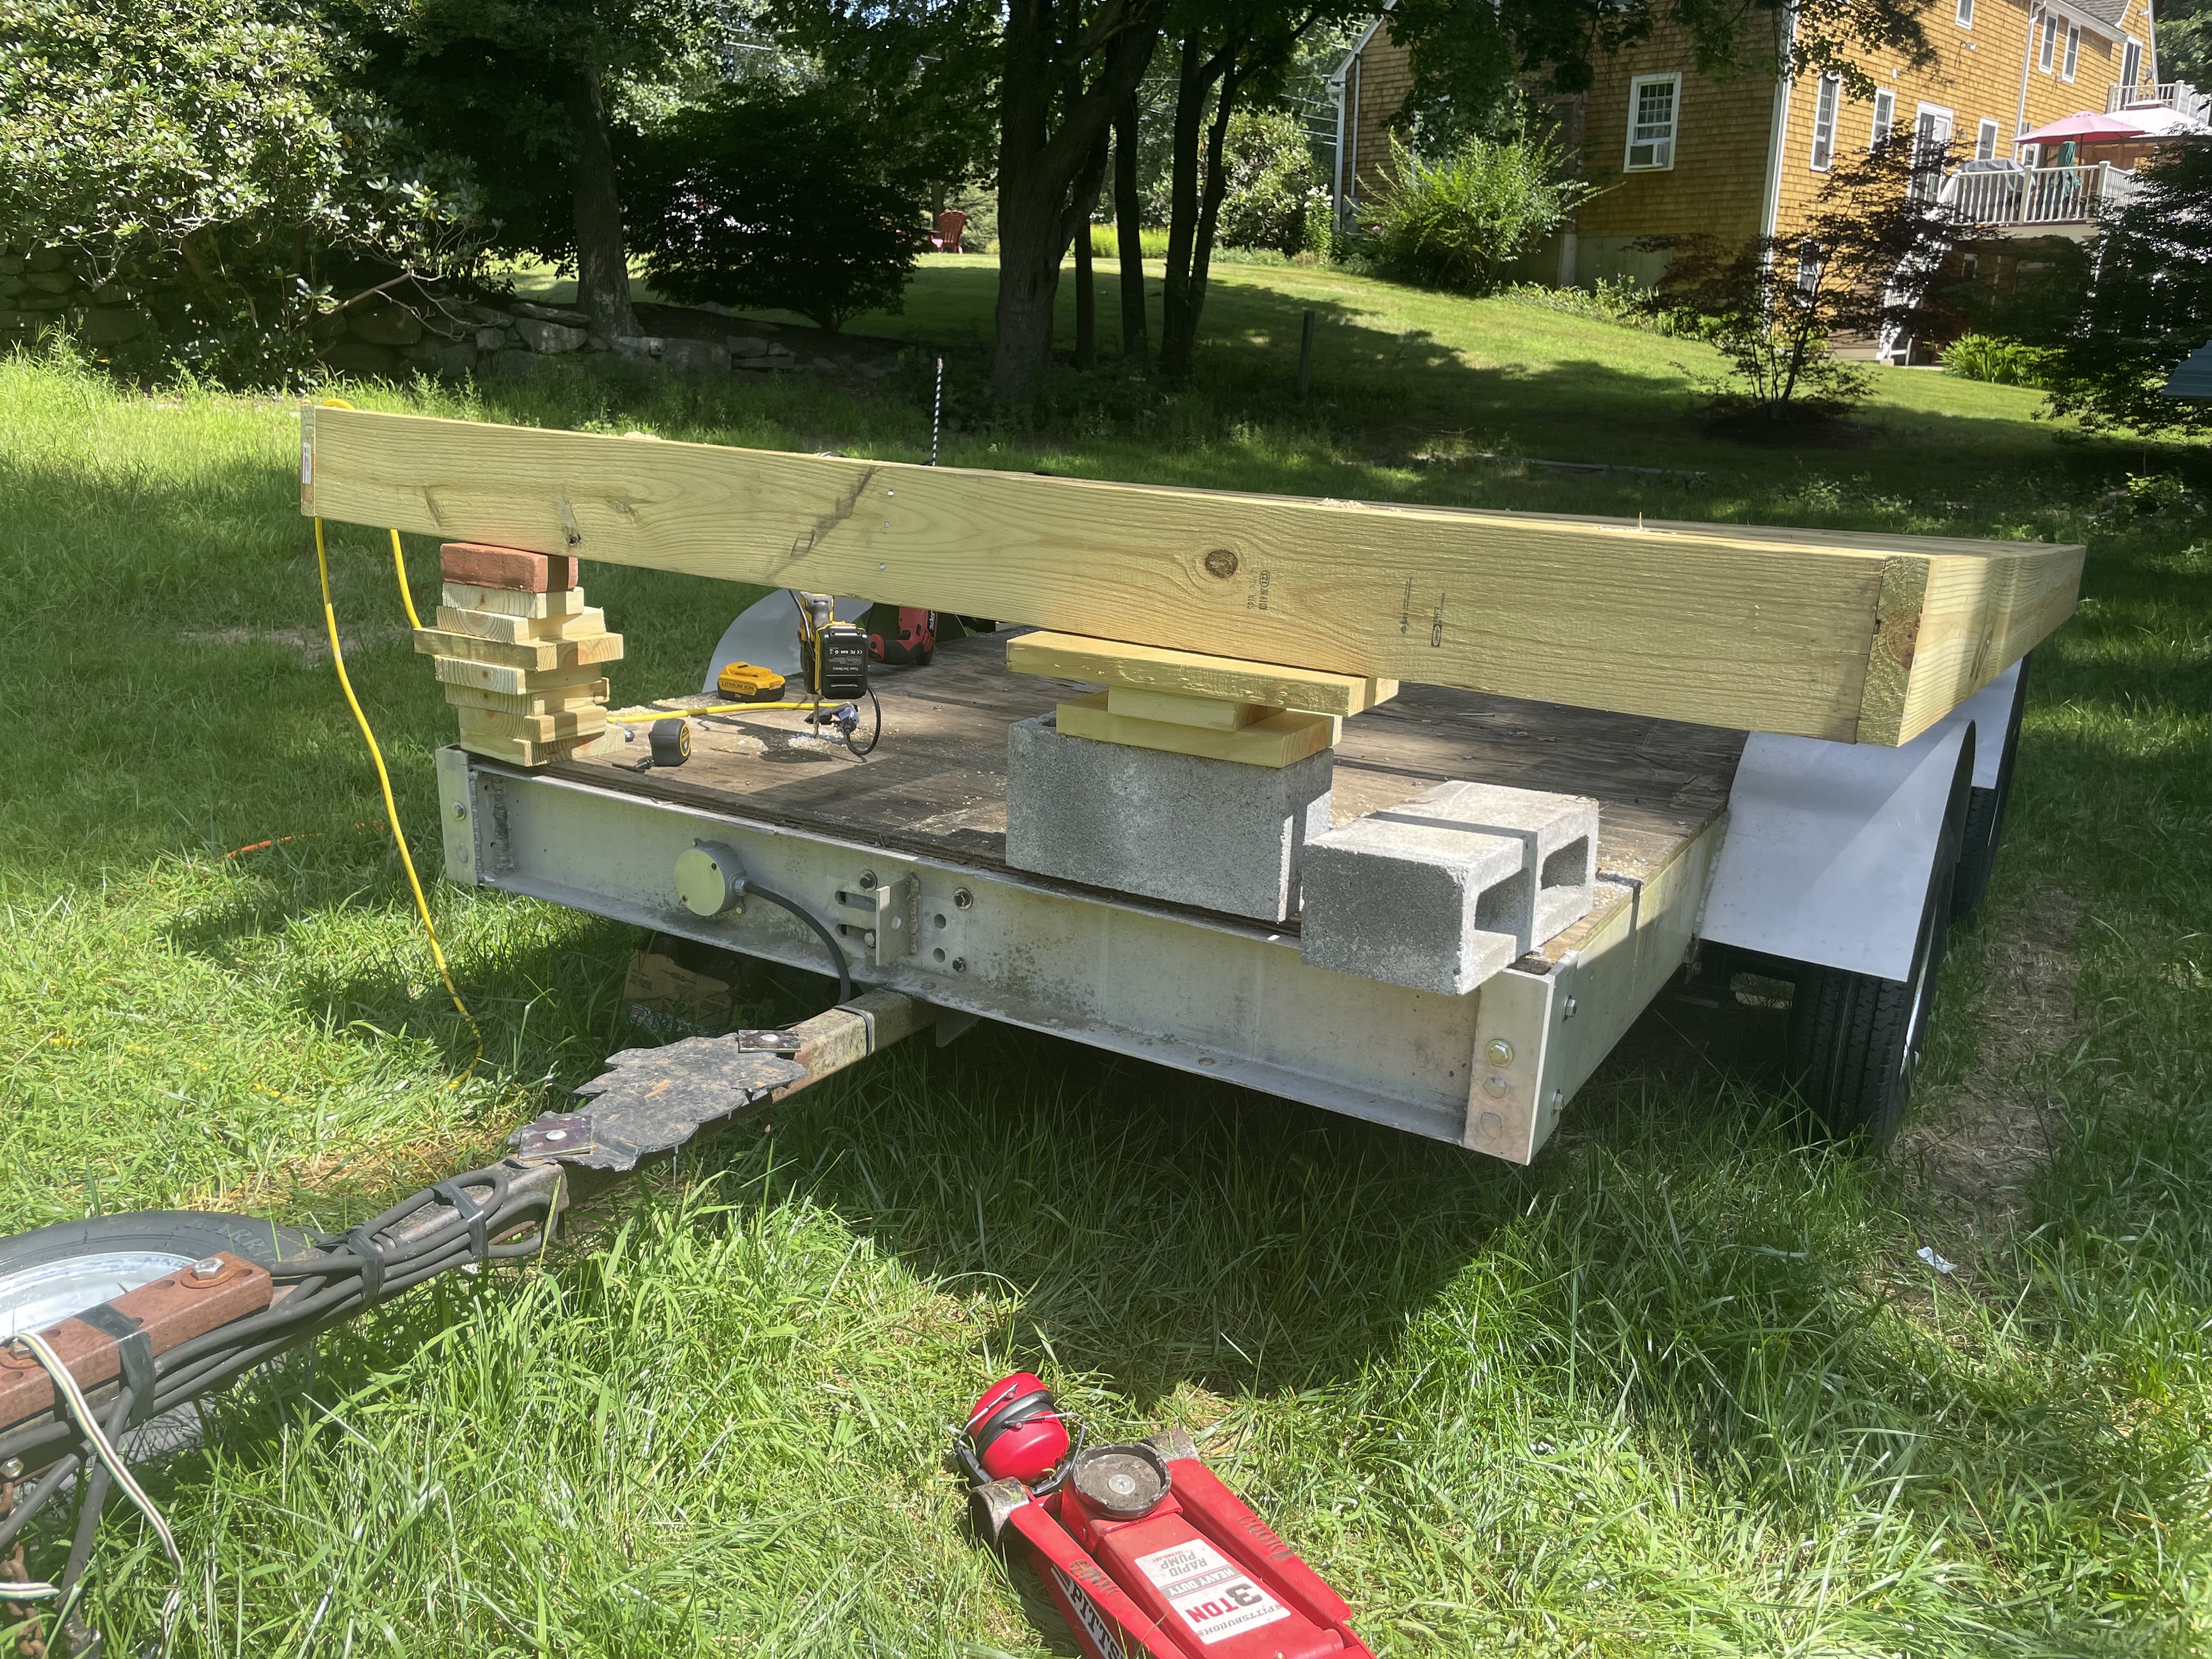
I got started by cutting off 4 of the poles which I knew I wouldn’t use, keeping 2 just in case . Then I built the beginnings of the frame on the ground and hoisted it up.

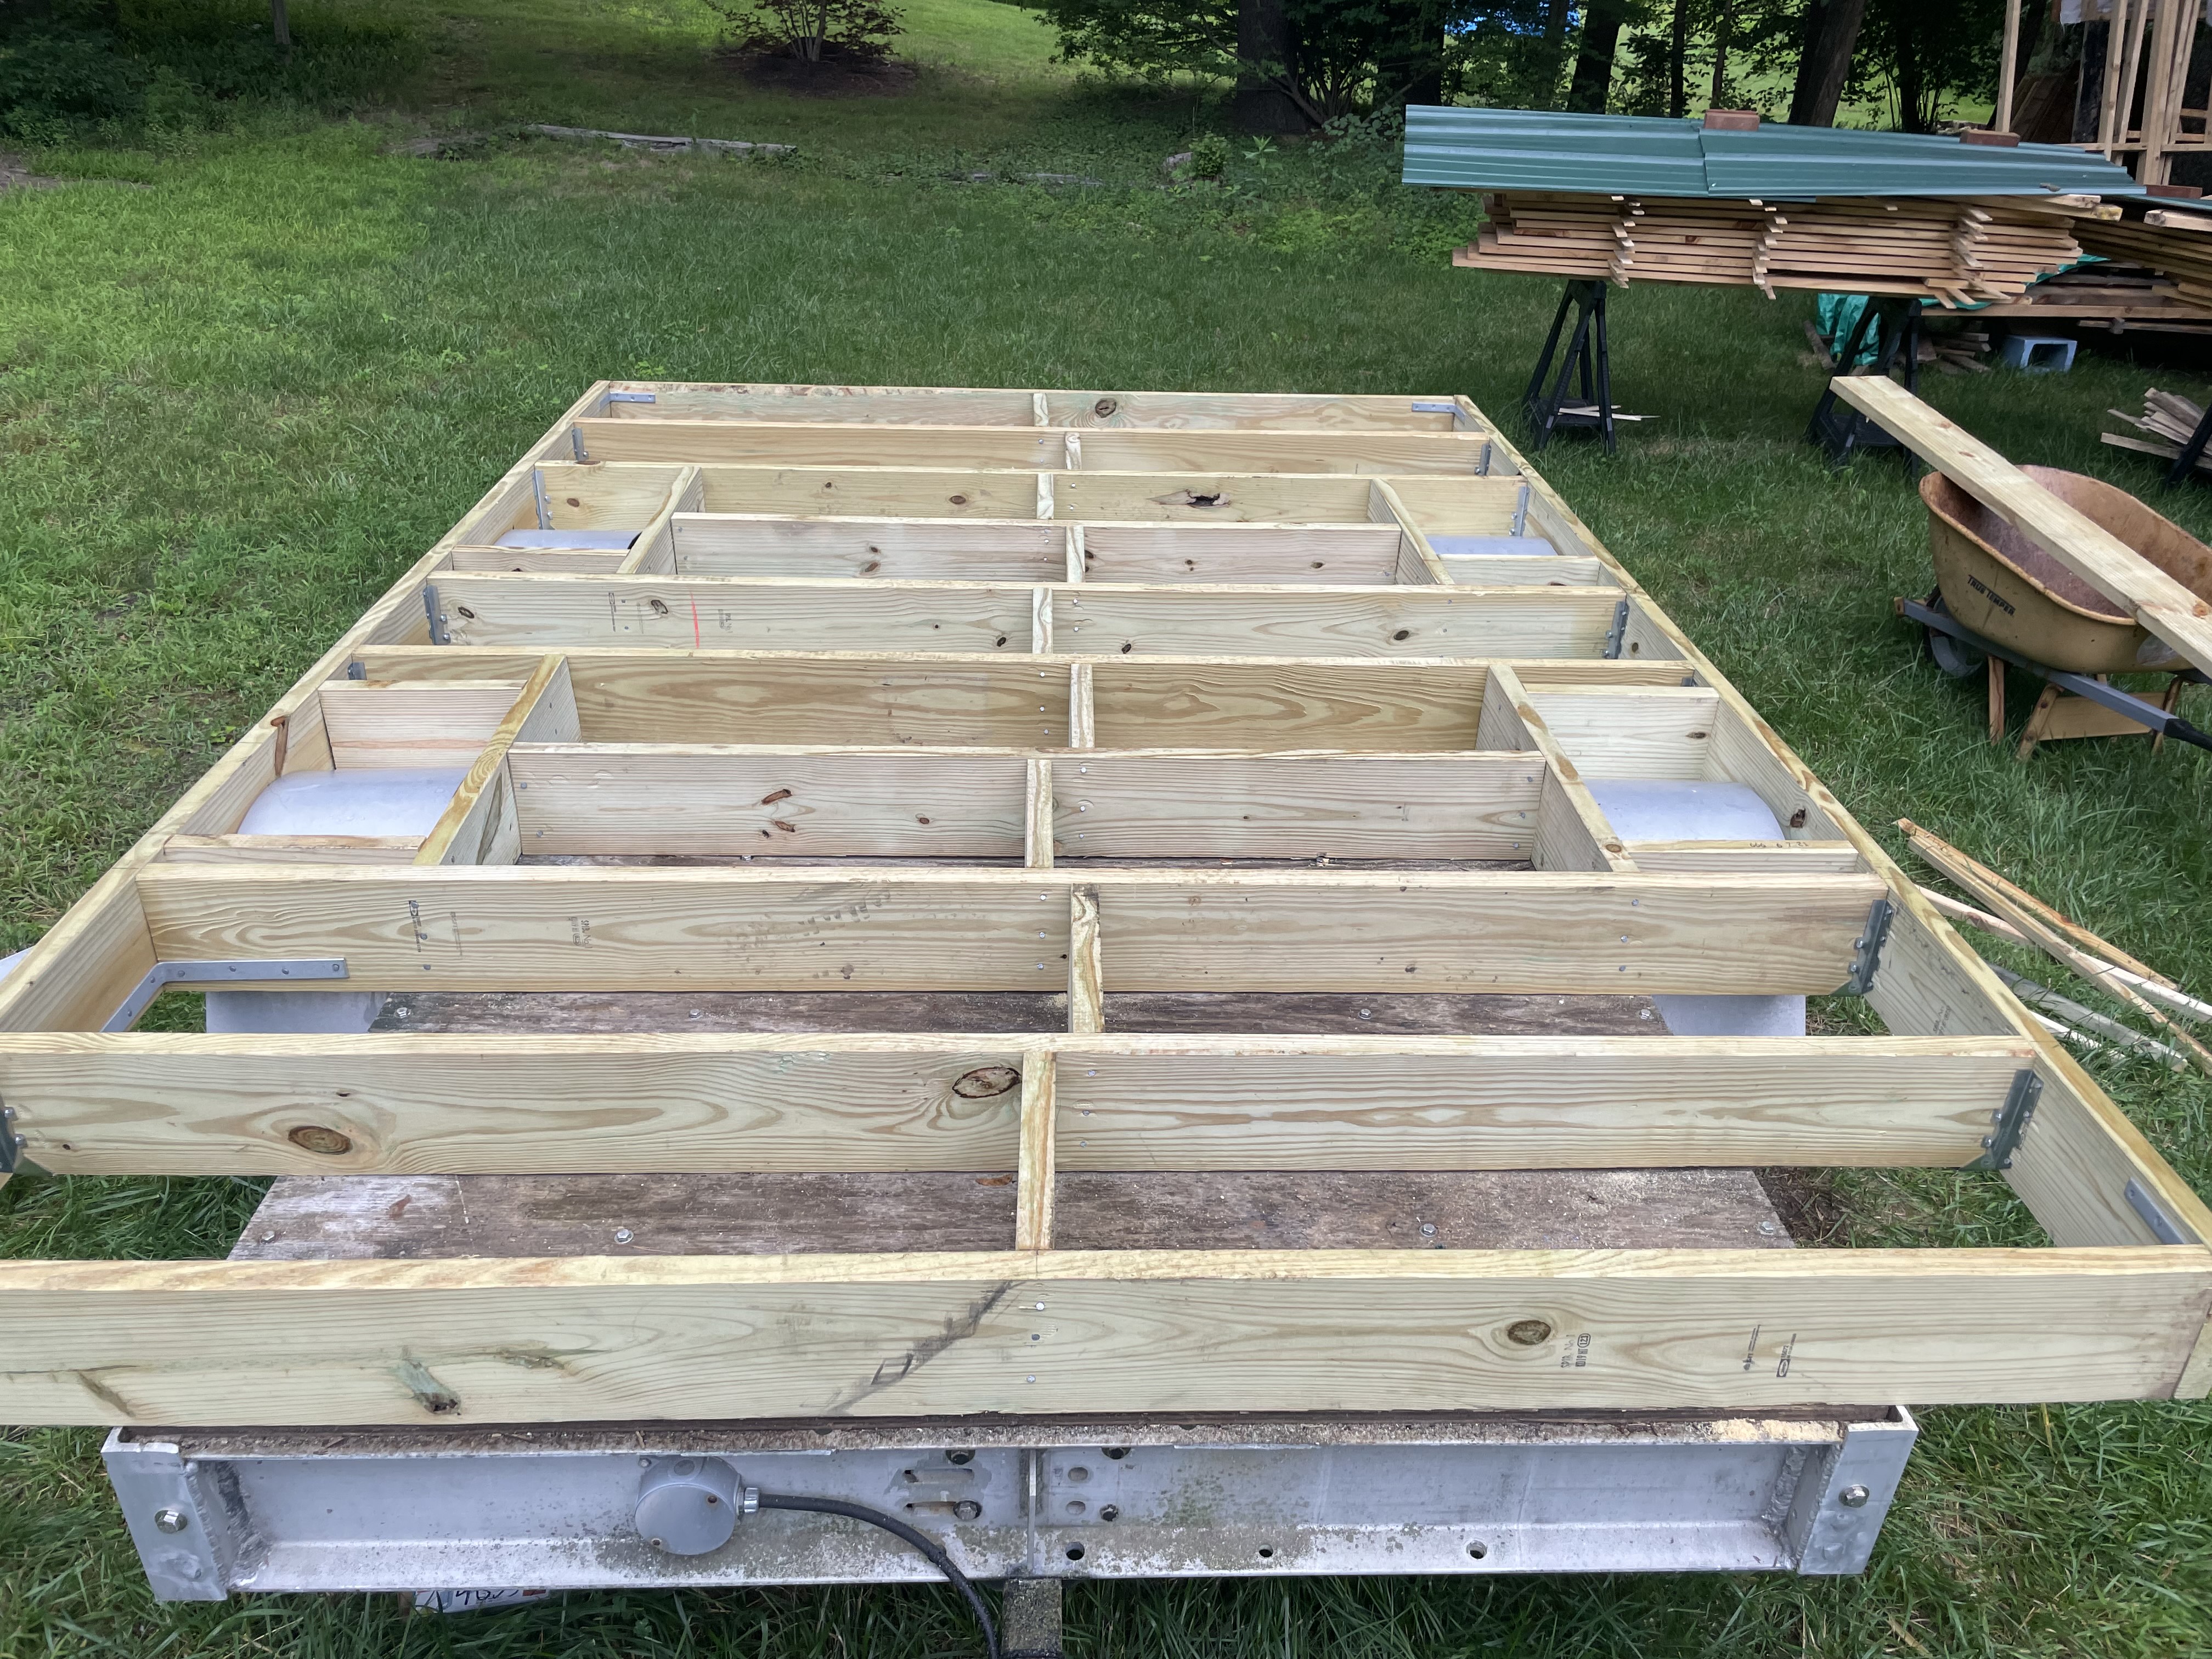
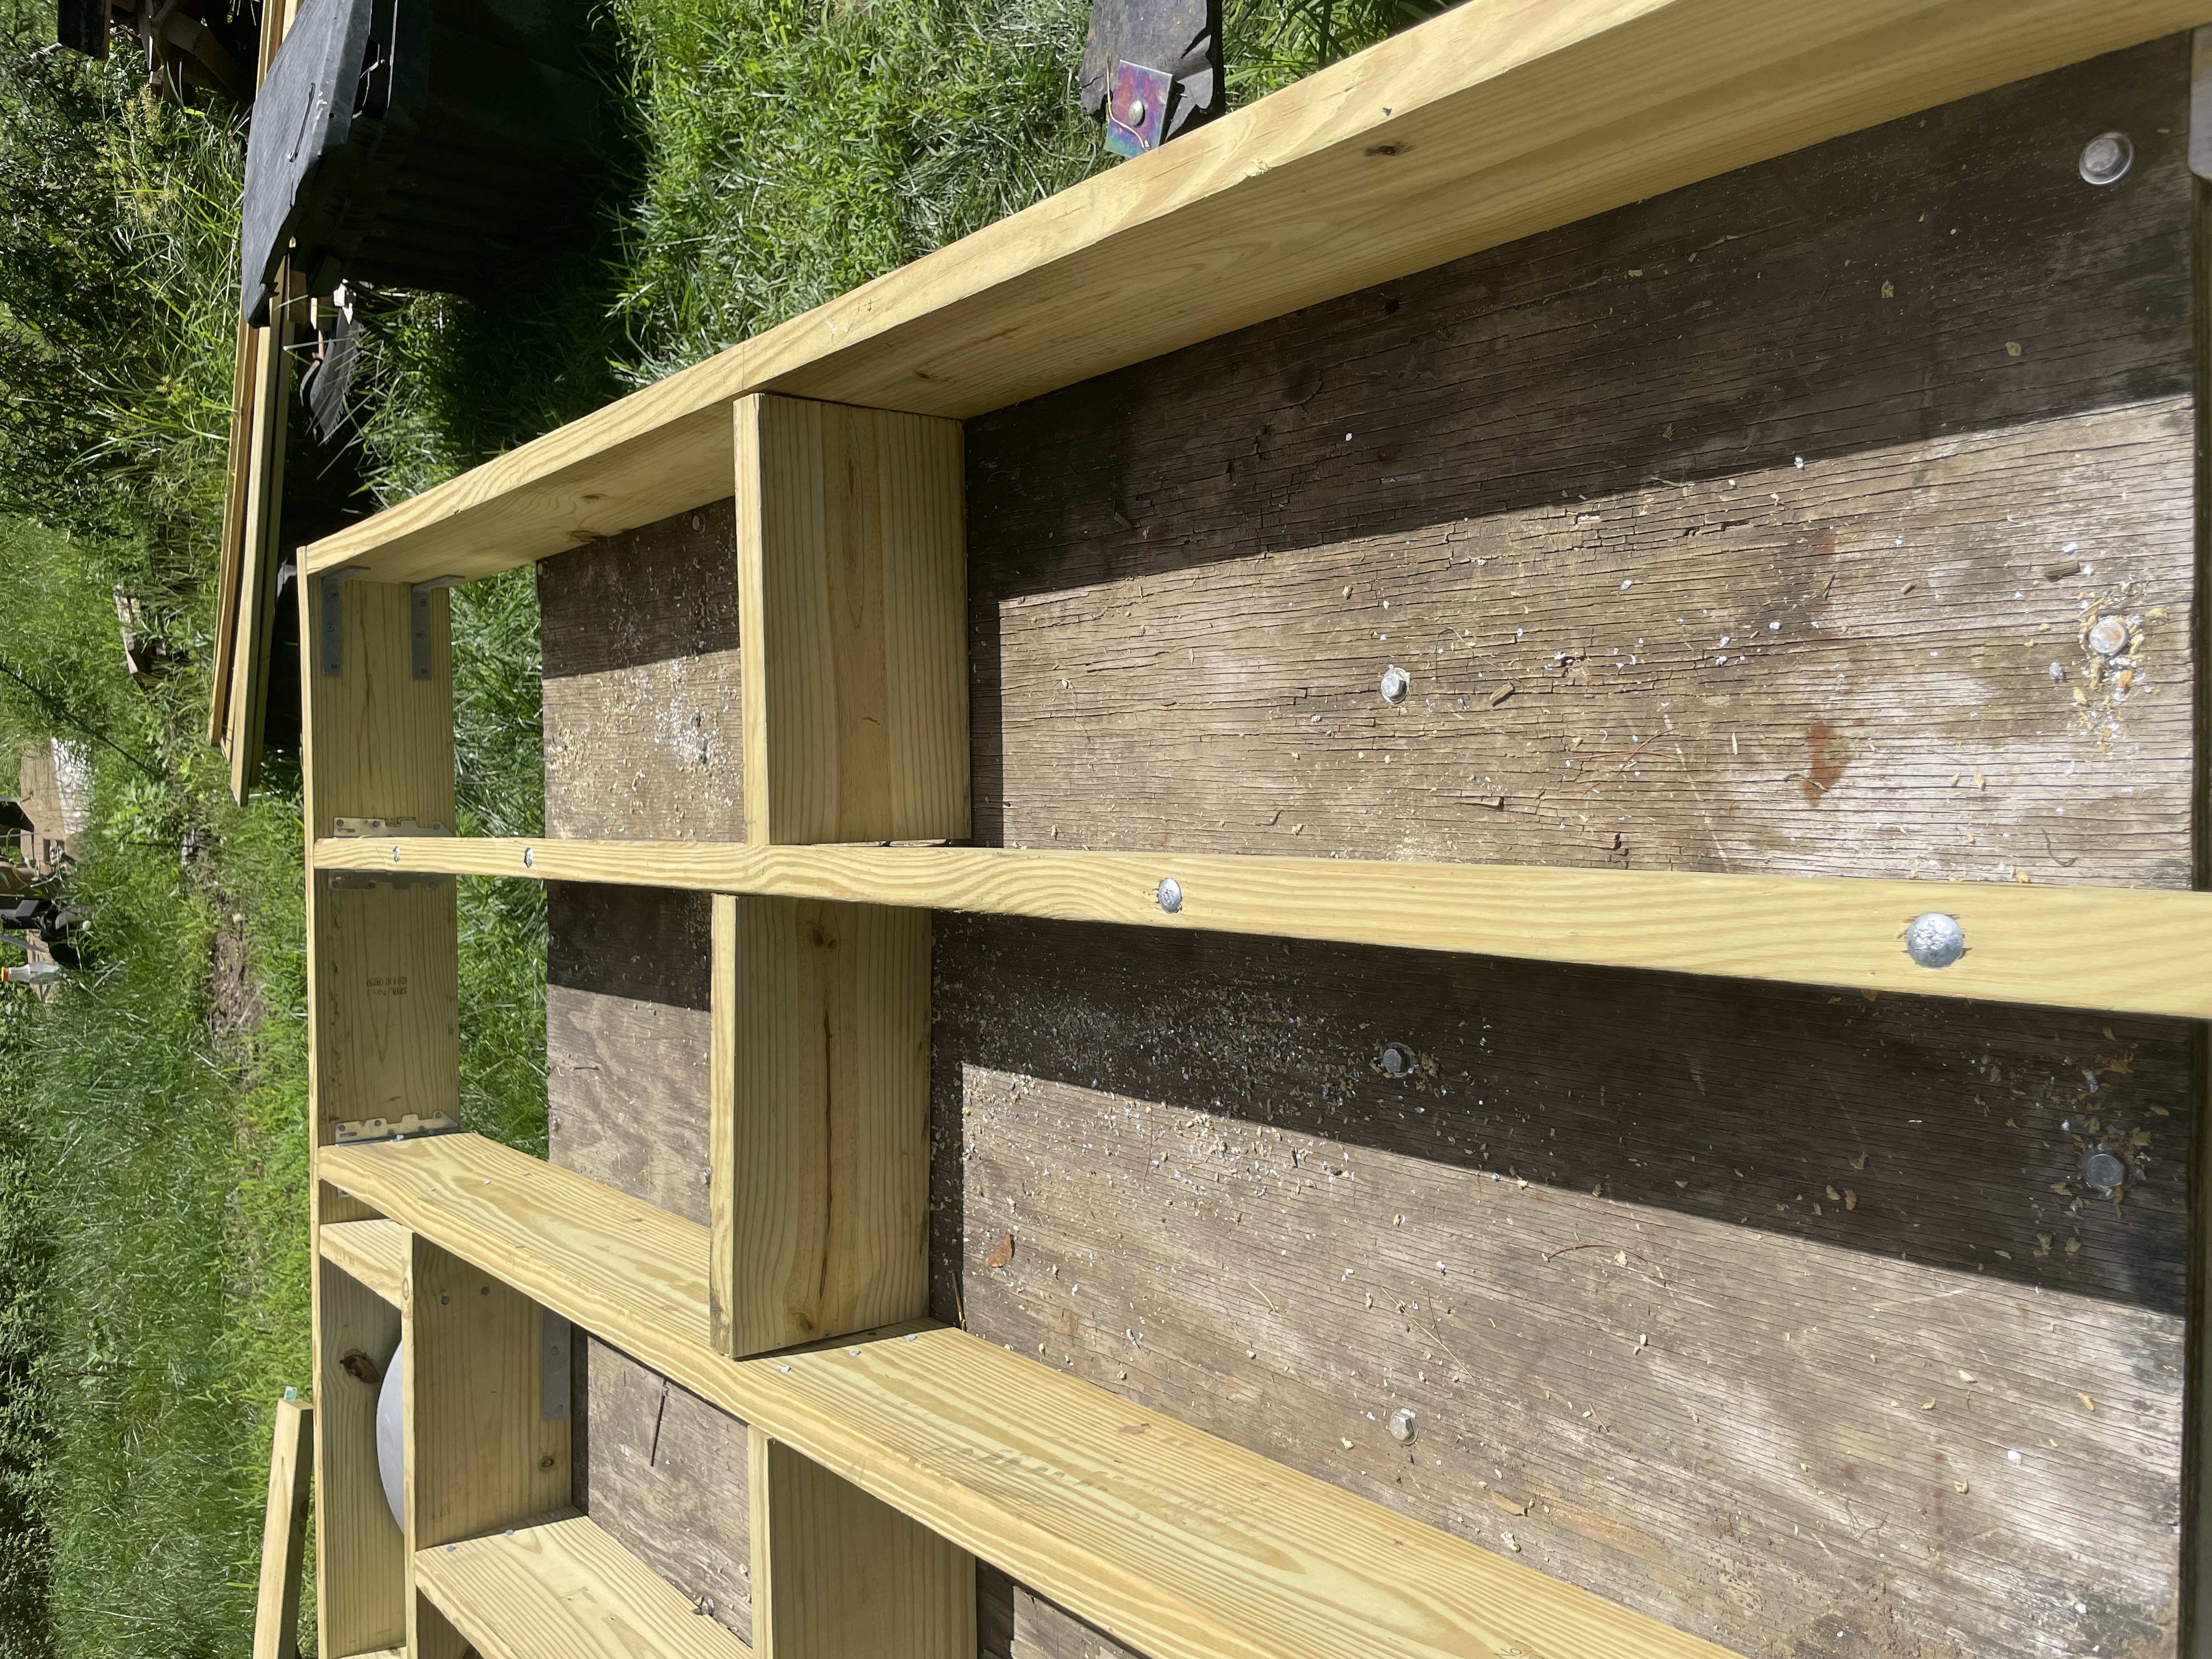
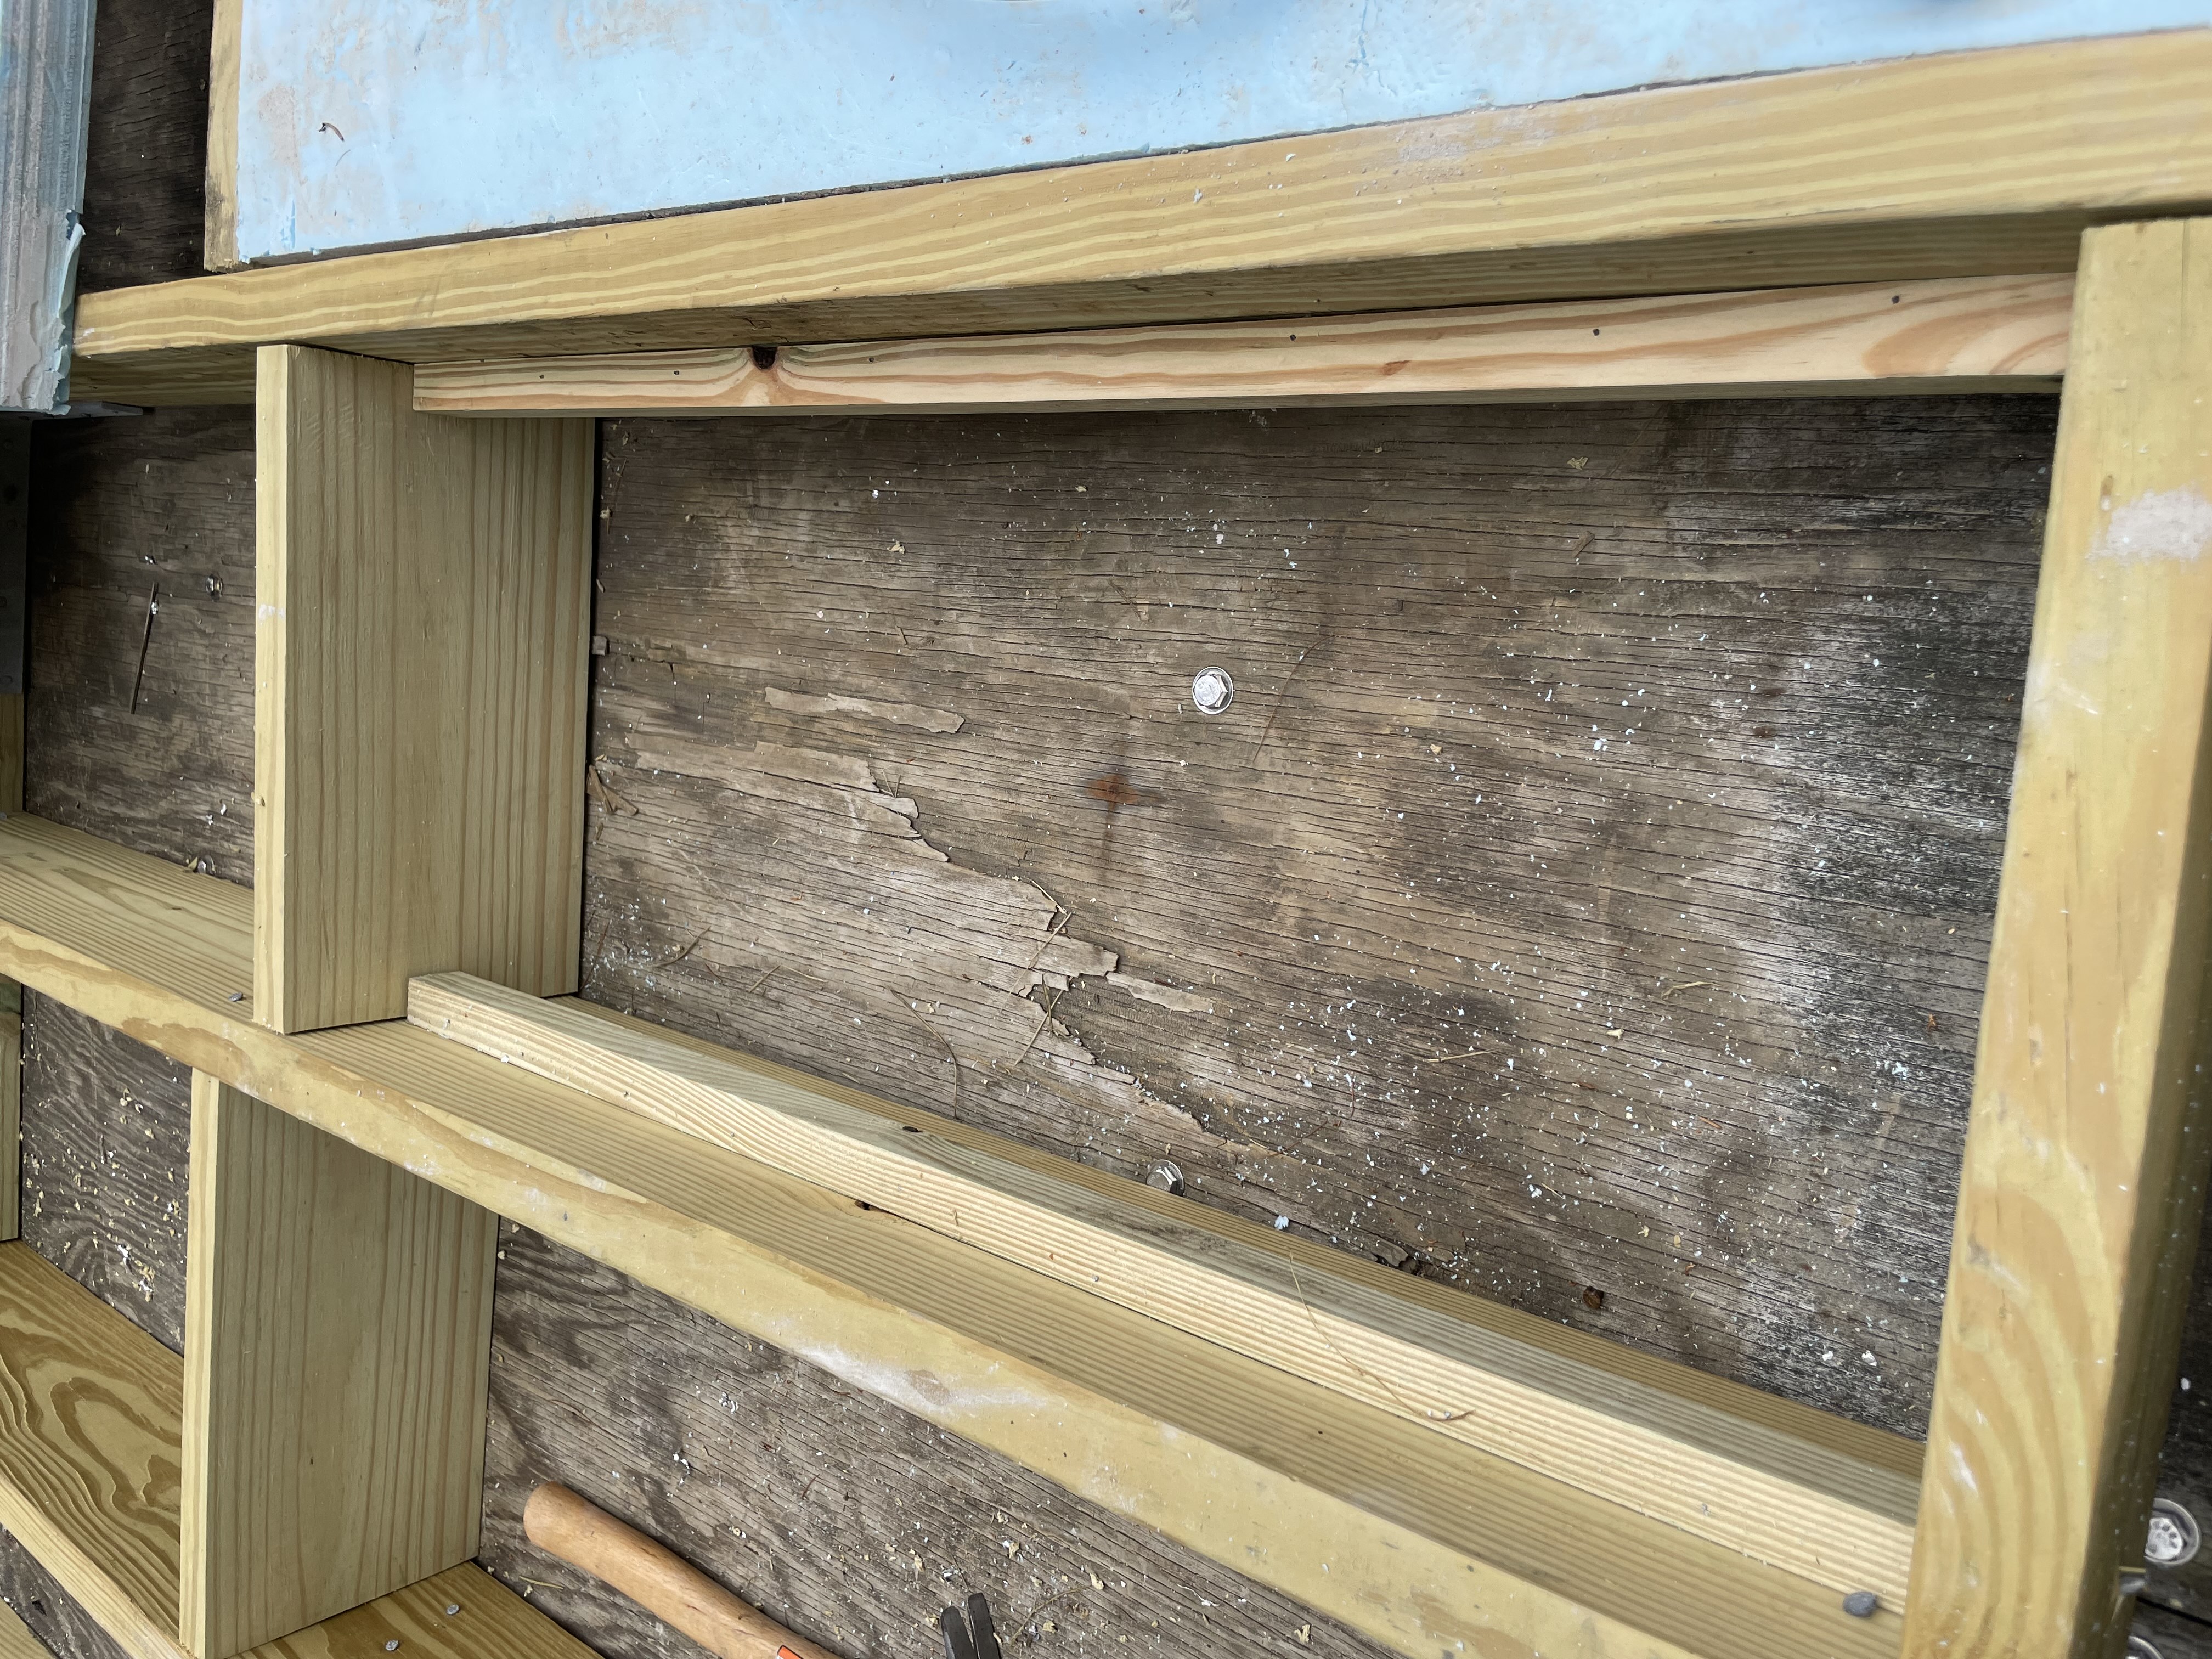
I ended up cutting the last 2 poles off, put 8″ beams every 16″ and framed around the fenders.
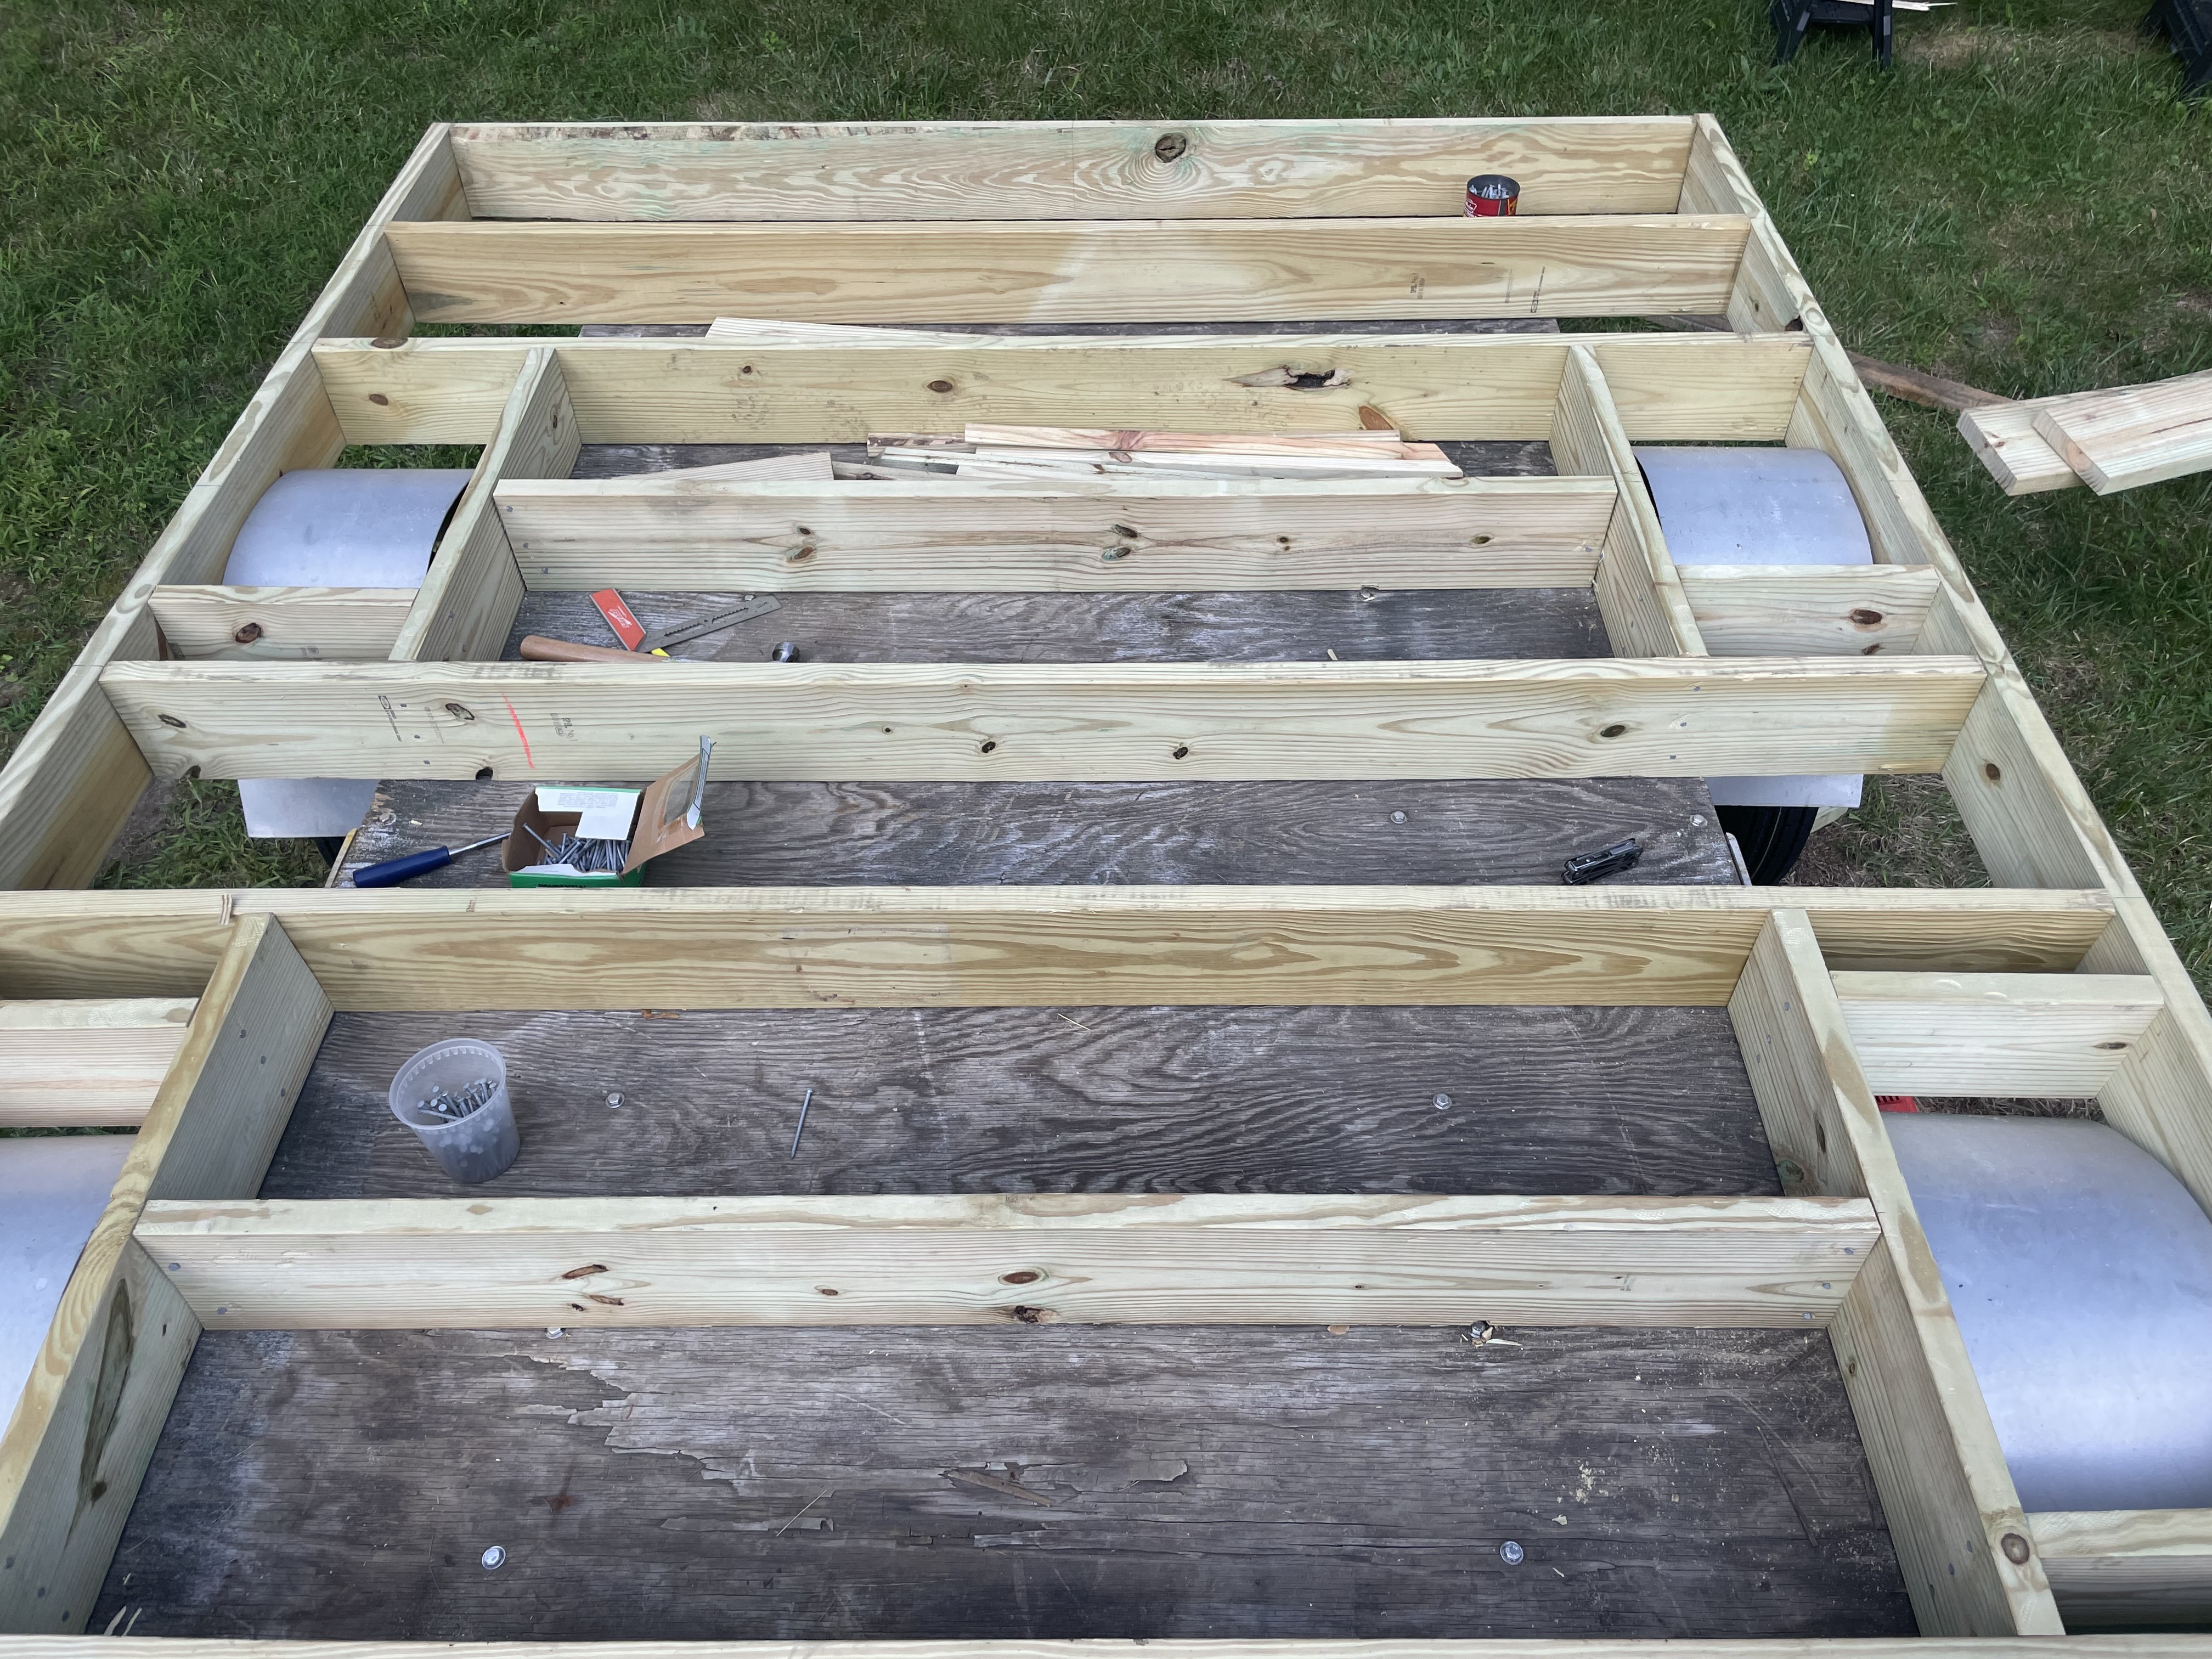
I added some blocking for added strength. I installed joist hangers on every spot I could fit them and a few corner brackets.
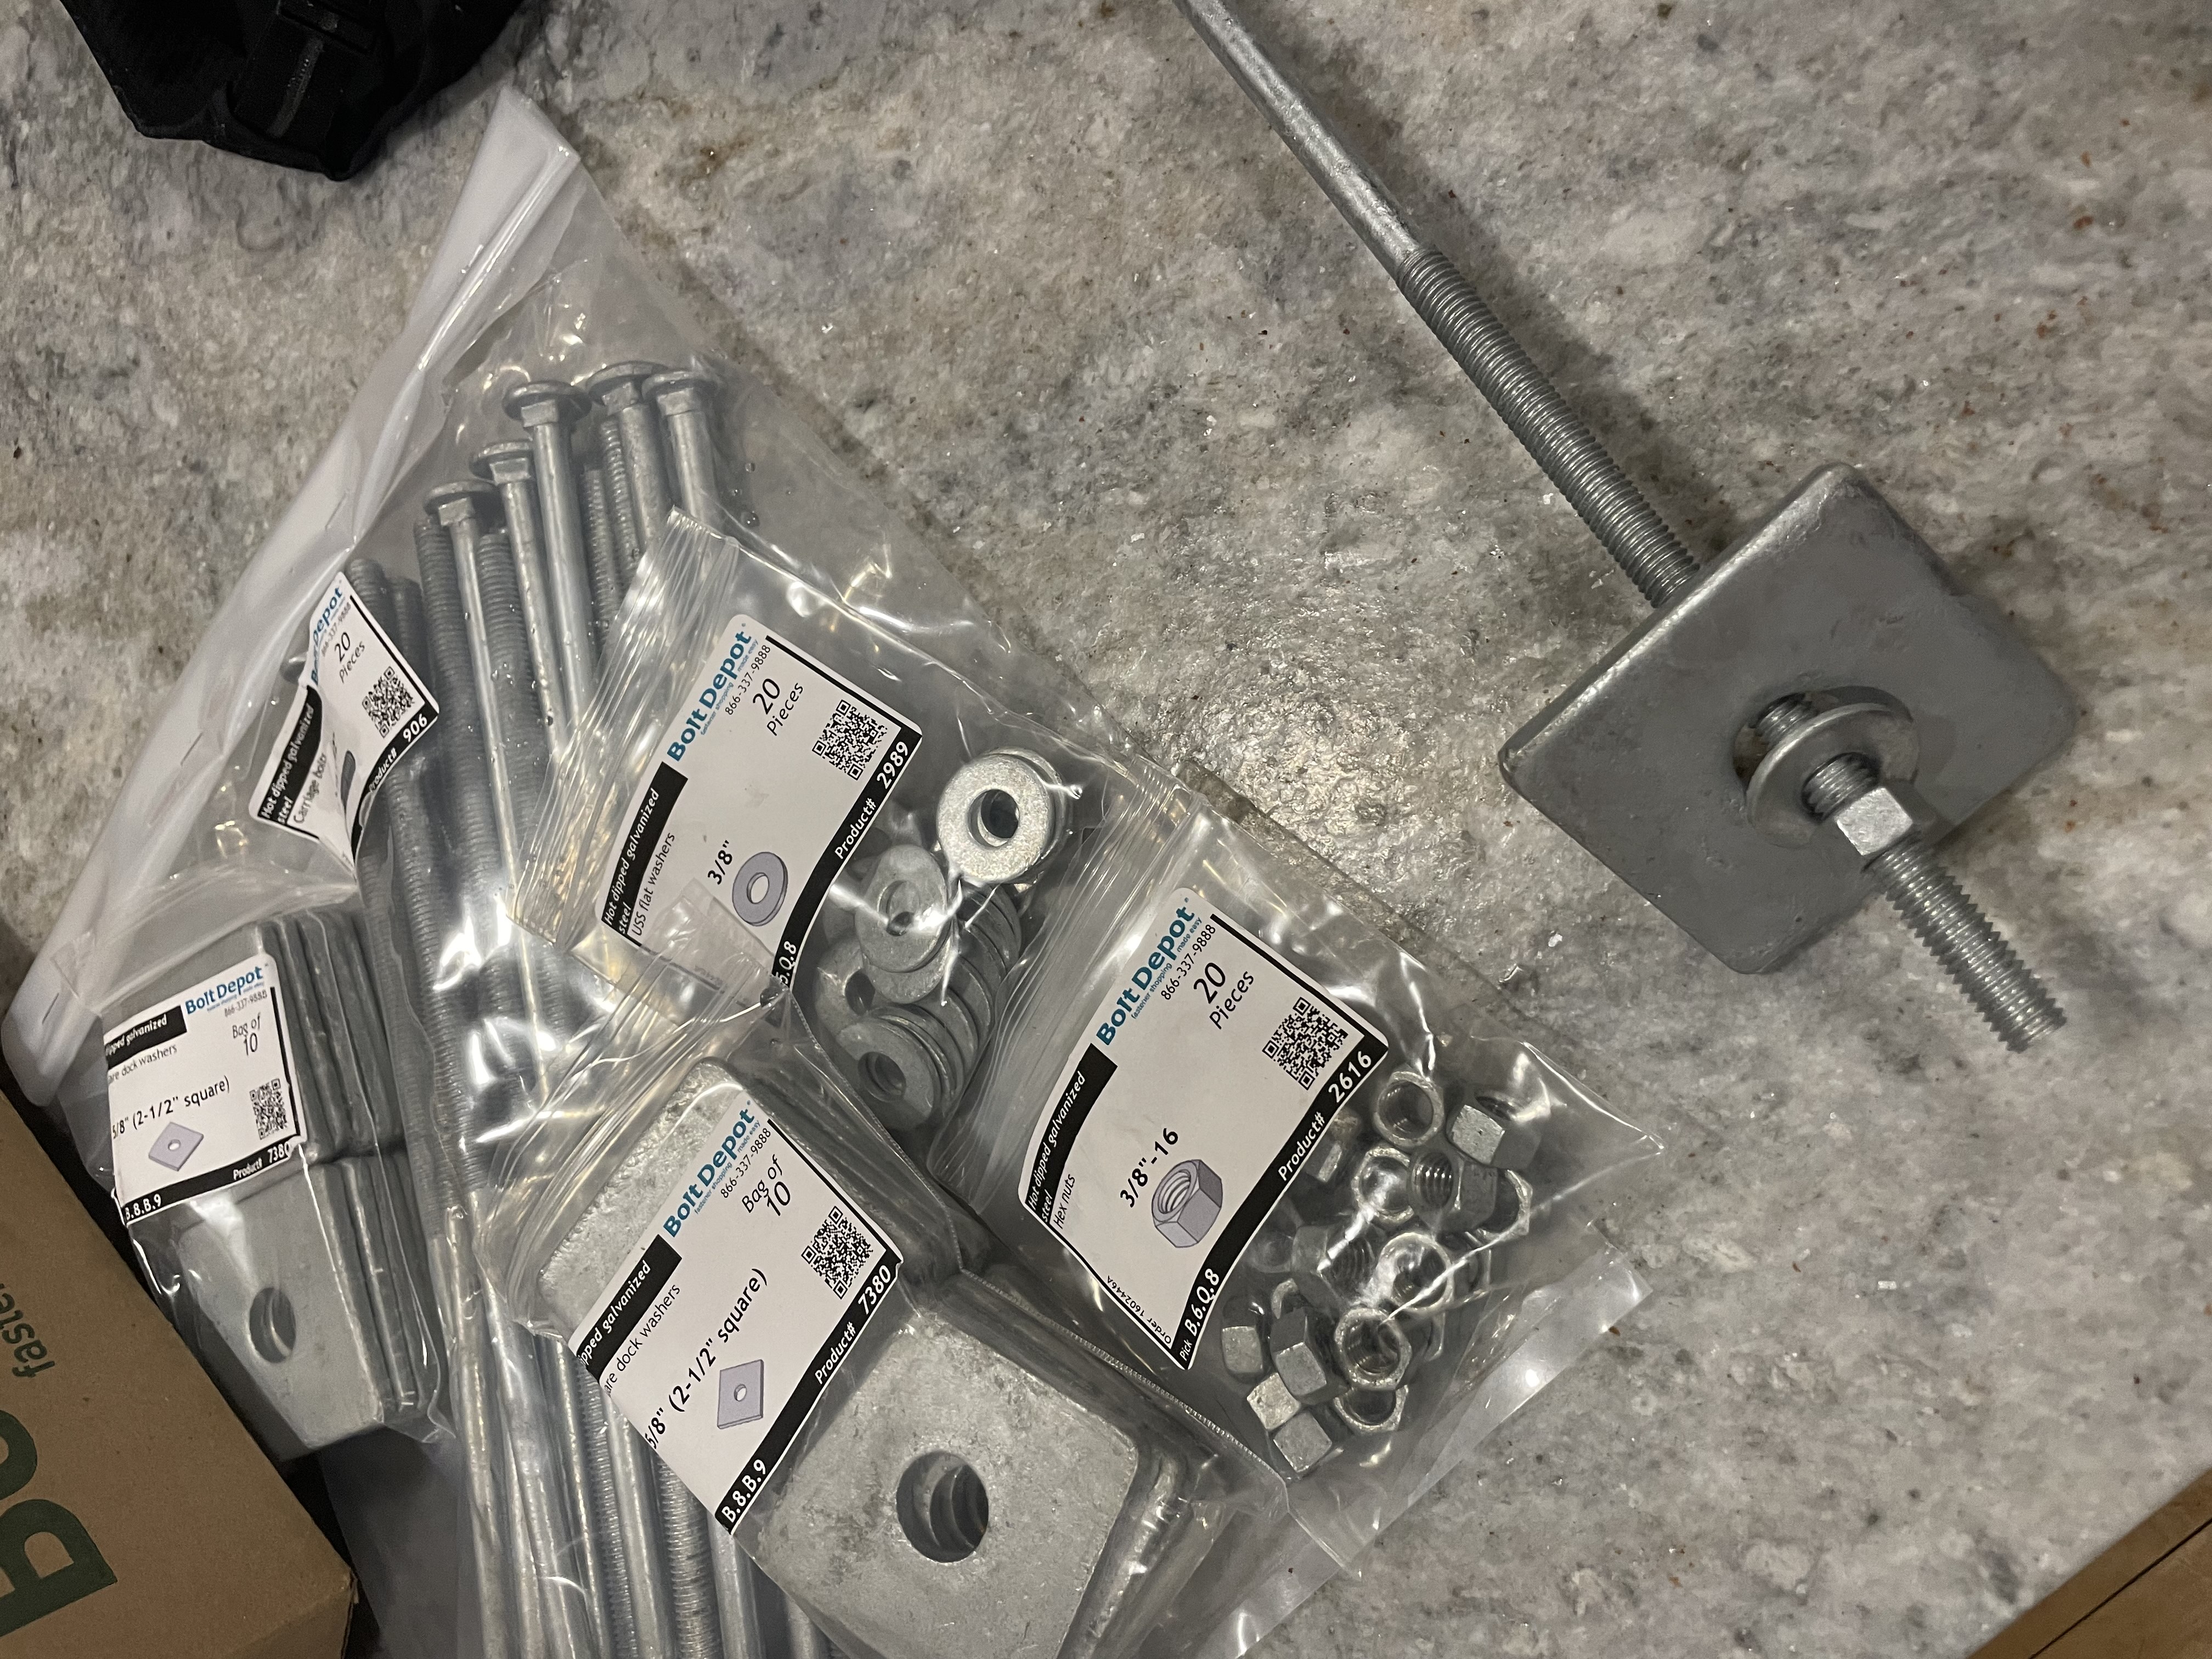
Sourcing long enough carriage bolts was a bit of a pain at first. I needed them to be at least 9″ long and be galvanized to hold up to road salt. I managed to find all I needed from Bolt Depot for under $30. (I have no affiliation with these guys; just a big fan.)
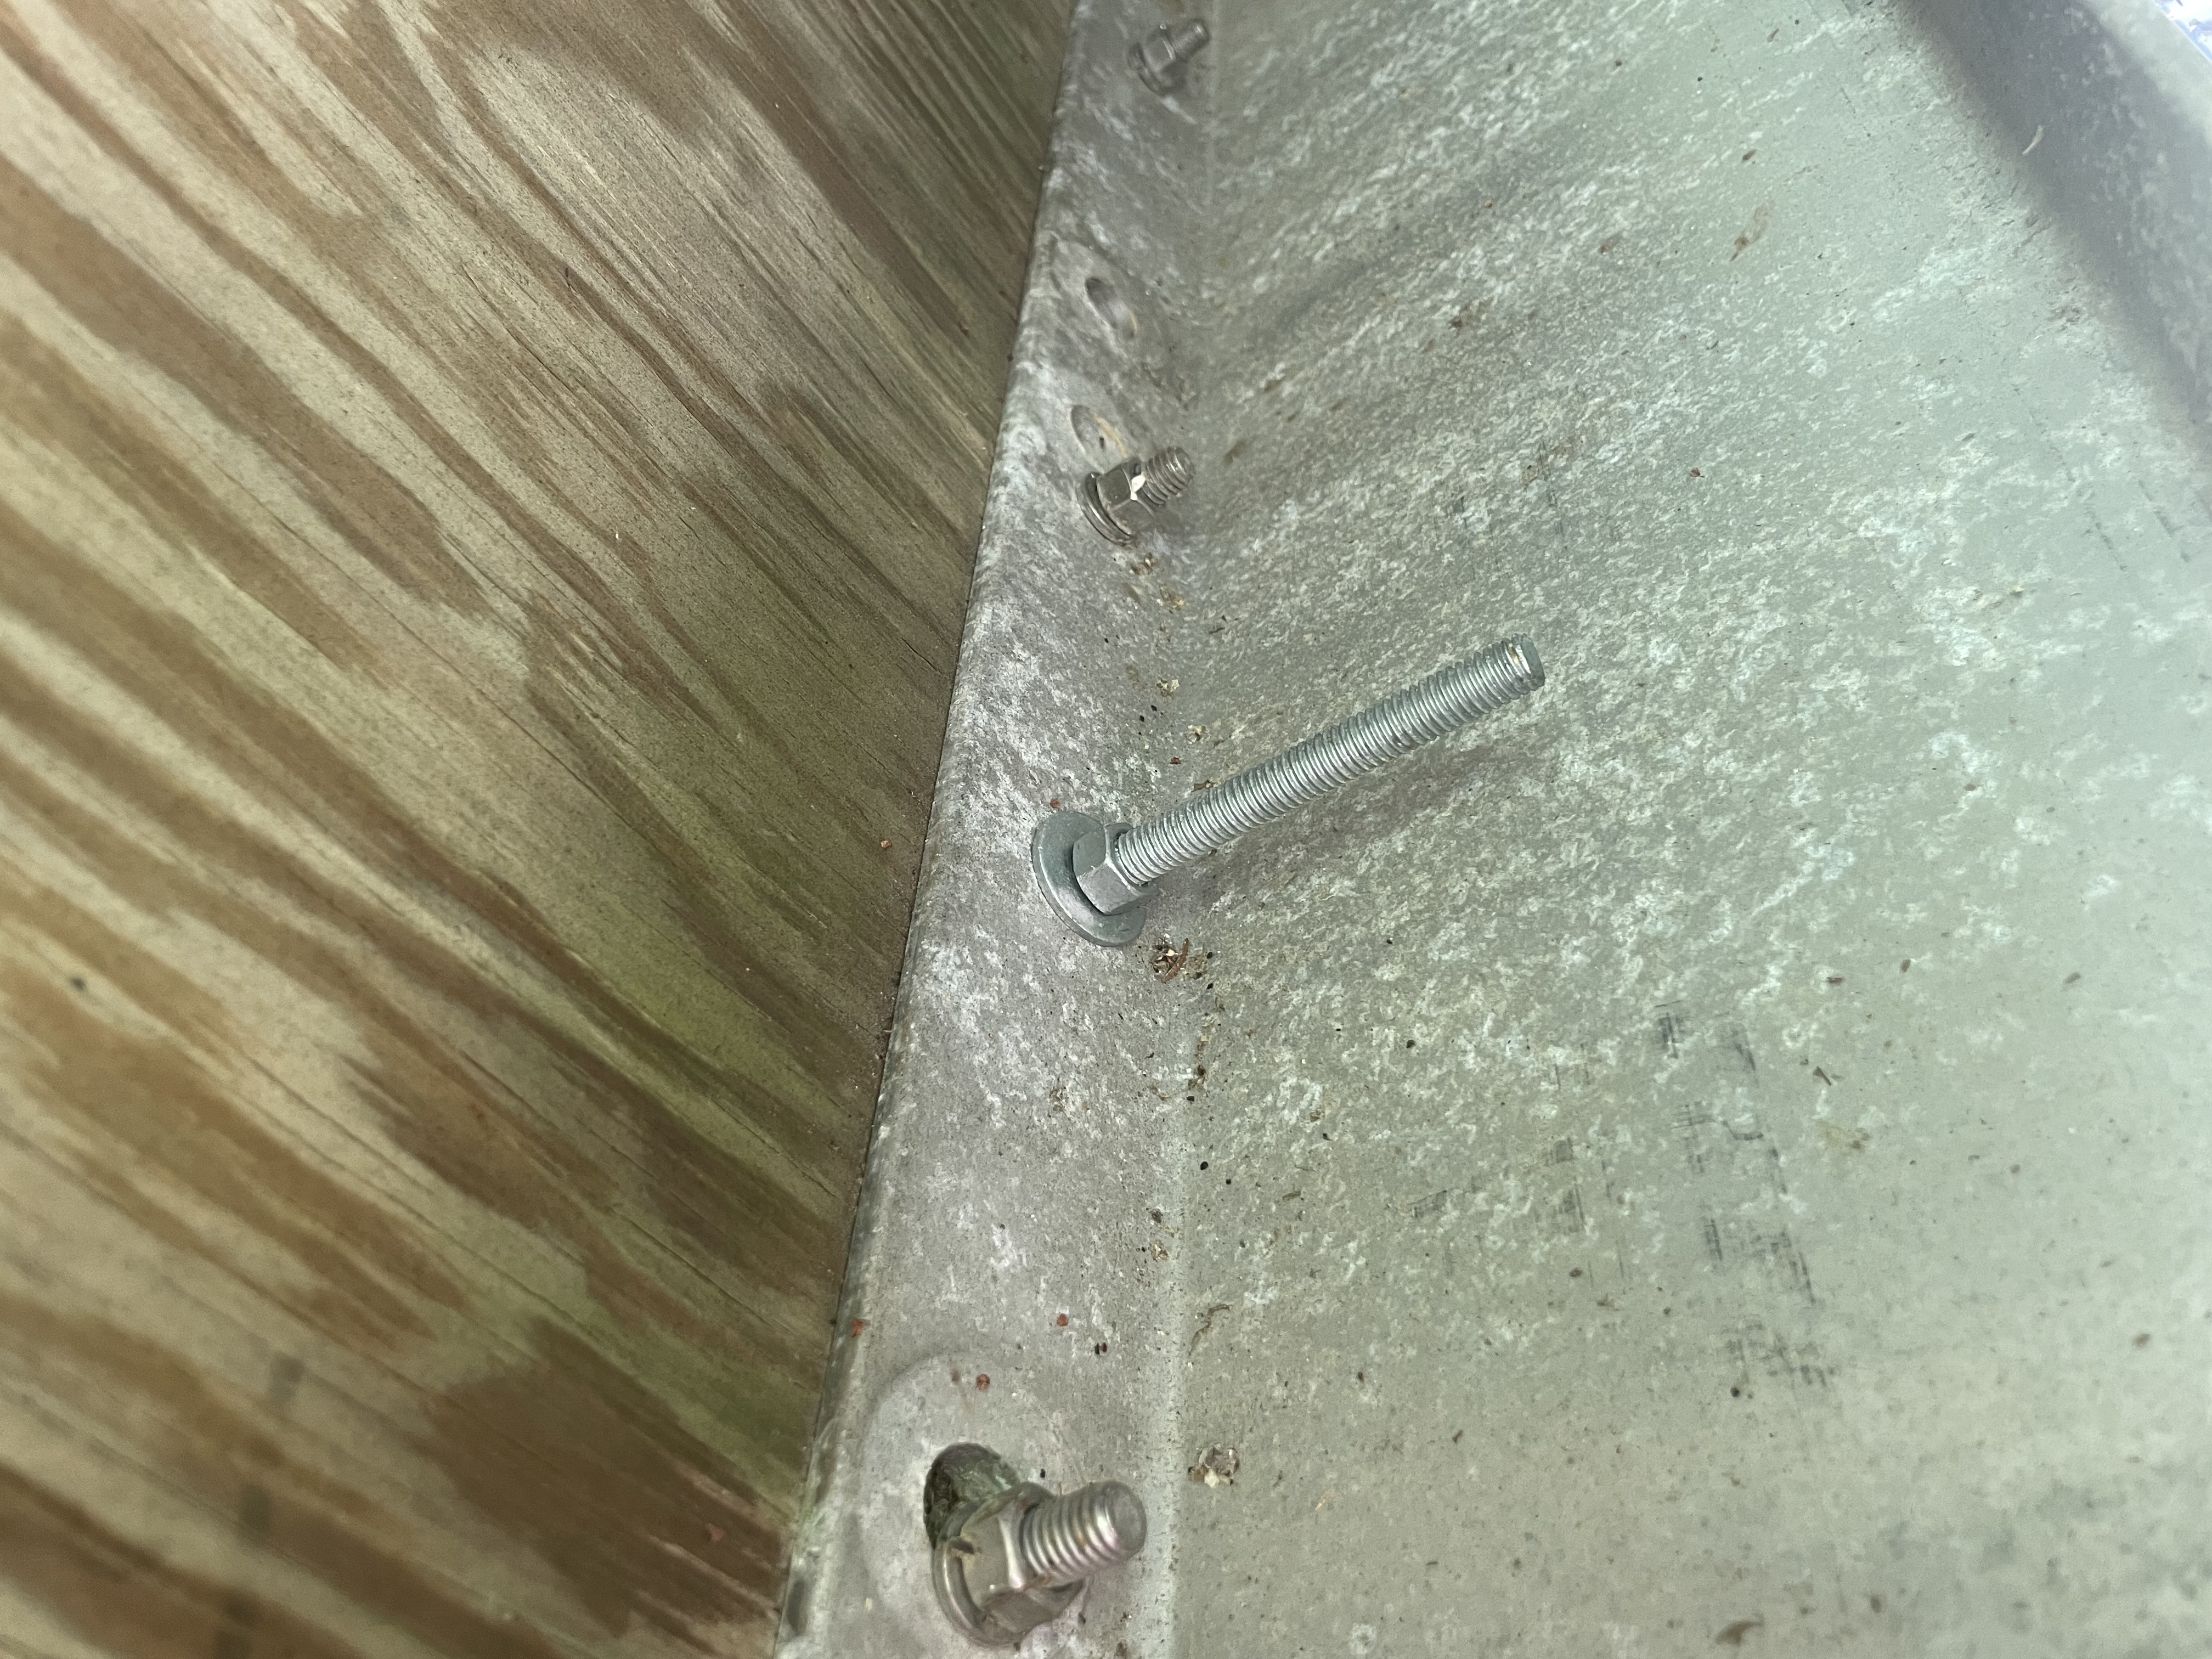
My trailer already happened to have bolts holding down the plywood deck, all of which go into the I-Beam underneath and I followed their line. Using a long 3/8″ bit I drilled down through the center of the beams until I hit the deck.
The bit wasn’t strong enough to get through aluminum so I jacked the deck up high enough to fit my drill and a titanium 3/8″ bit.
The huge, 2″ square washers I bought wouldn’t fit. But the smaller, round washers I bought seem plenty strong.
Even though the trailer already has a pressure-treated deck, there’s a chance I may remove the sauna from the trailer in the future. Now’s the time to add a barrier between the future ground and the floor insulation. Plus, I would’ve had to do this for the 1 foot overhang (building is 8 feet wide, trailer deck is 6 feet) anyways and decided to just do it all.
I picked up 2″ foam board insulation (R10) off Facebook marketplace for about 60% off retail. I got all the material I needed for the deck for about $75 delivered. It had some concrete sludge on it but I don’t care.
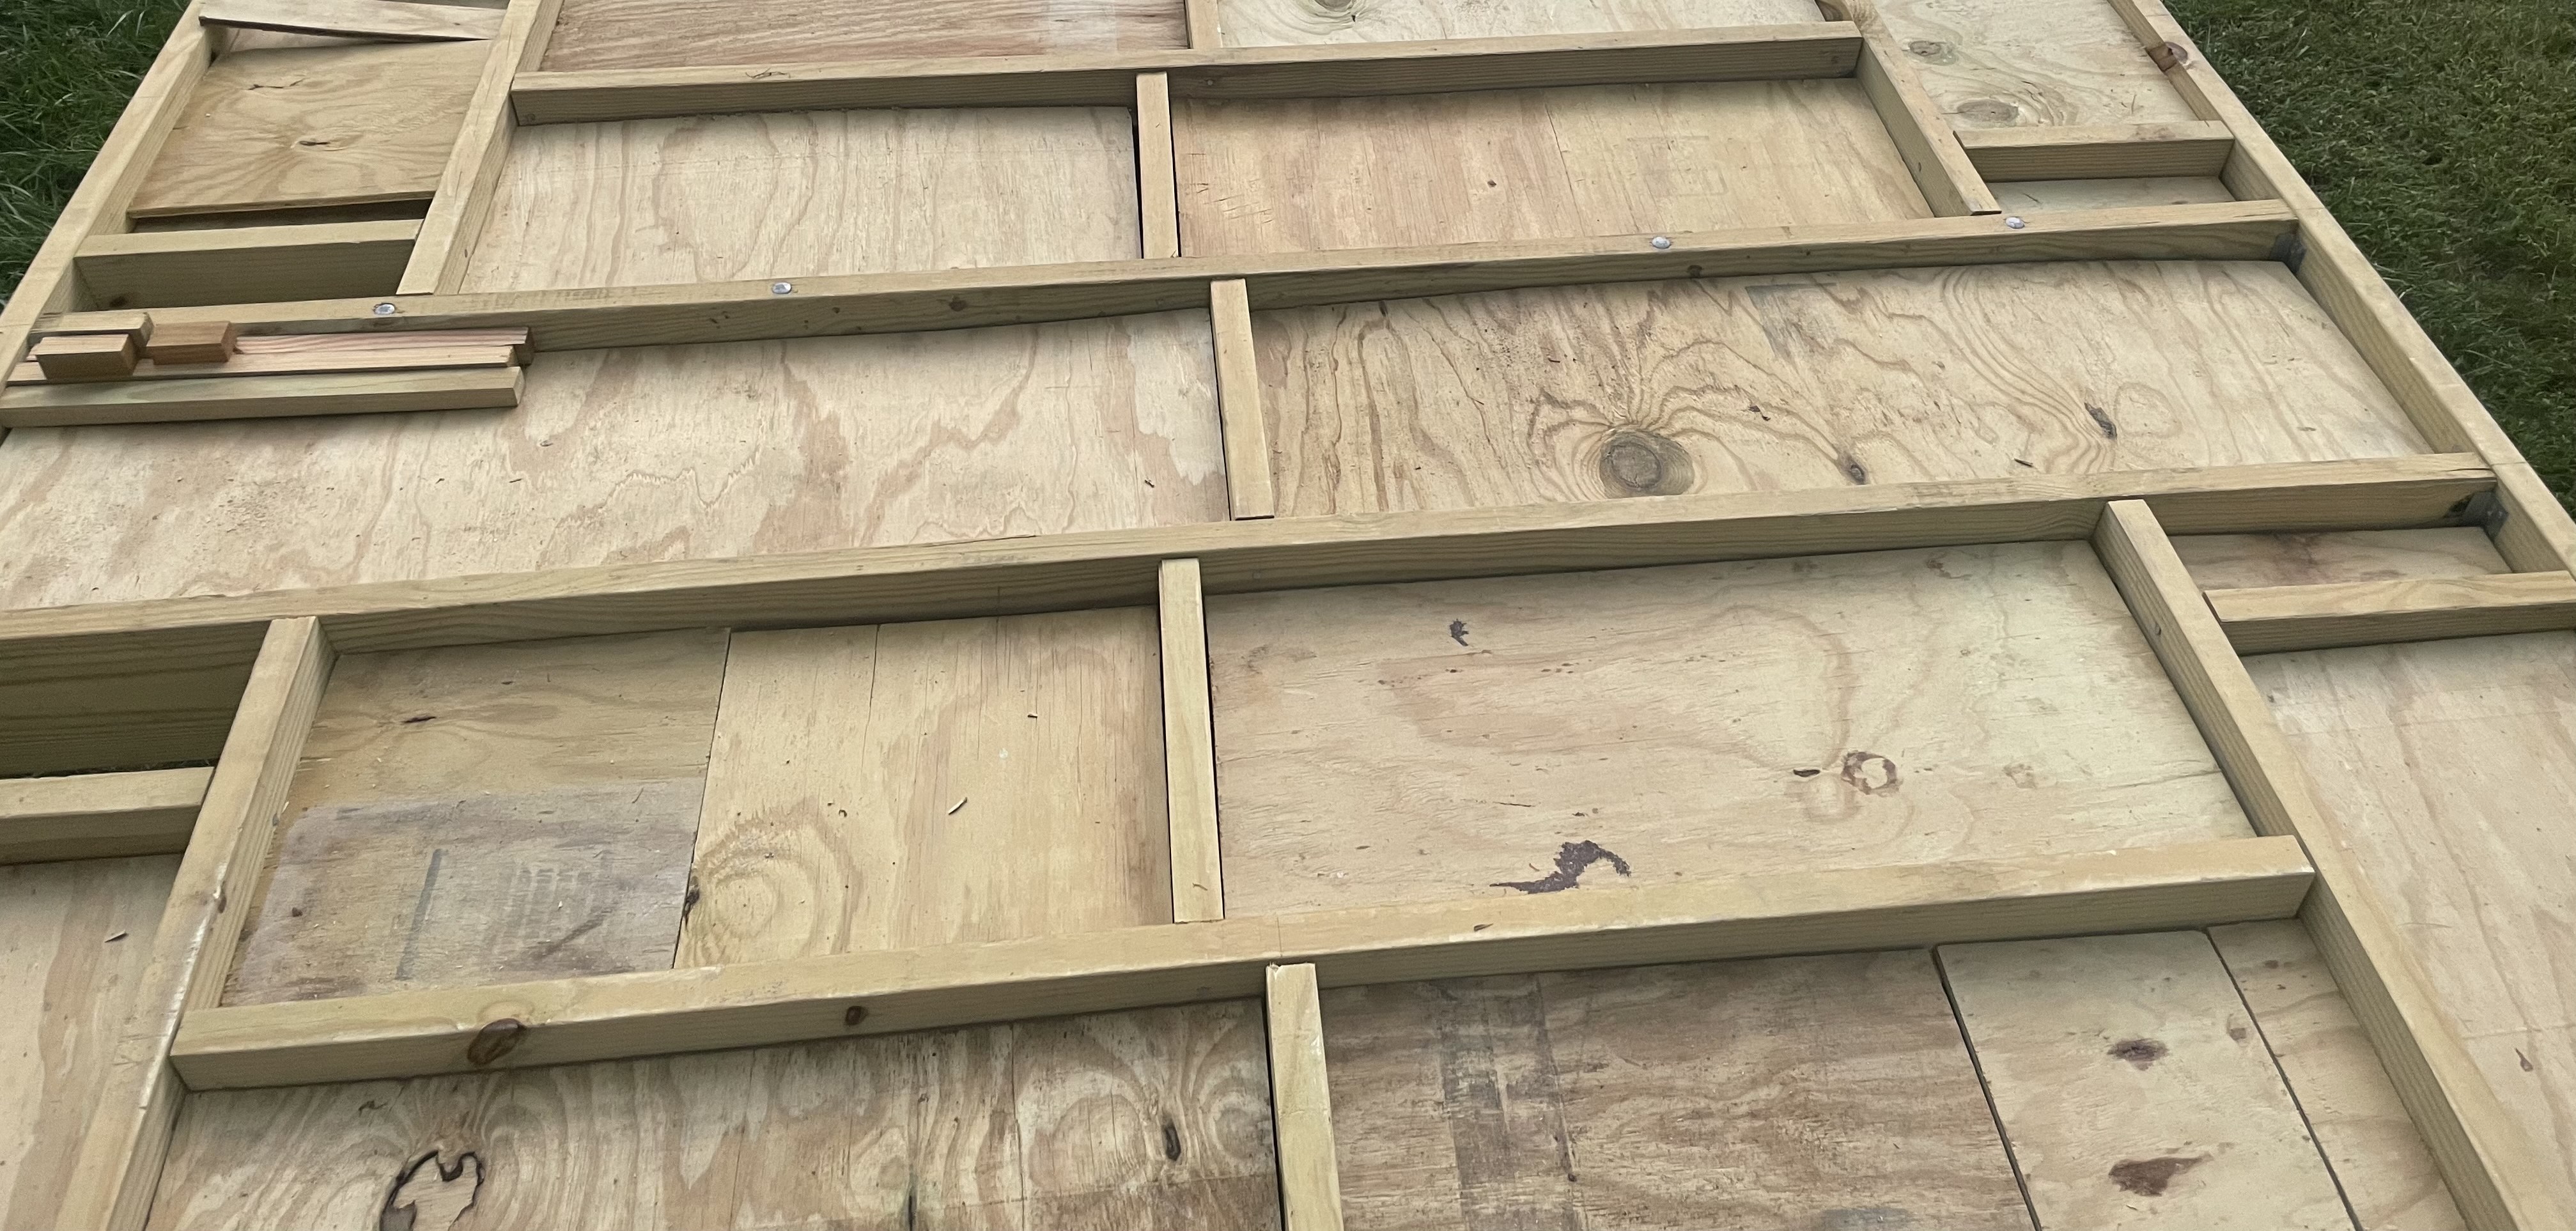
With the foam being 2″ and the beams 8″ that leaves a 6″ gap. The solution I decided on was PT sticks along the insides of each beam, followed by a 1/4″ sheet of PT plywood, followed by a 3/4″ plywood subfloor on top of the entire thing.
I started with several 1″x4″x8′ boards which my father-in-law ripped on his table saw into roughly 1″ sticks. I tacked them in with a brad nailer 2.25″ down.
On top of the 1″ sticks went 1/4″ PT plywood.
And on top of the plywood went the 2″ foam insulation which I cut using a circular saw, wearing a mask and safety goggles. Above the wheel wheel wells was a little tighter so I picked up a sheet of 1″ foam. I also filled many smaller areas I couldn’t frame out with spray-can foam insulation, wearing latex gloves.
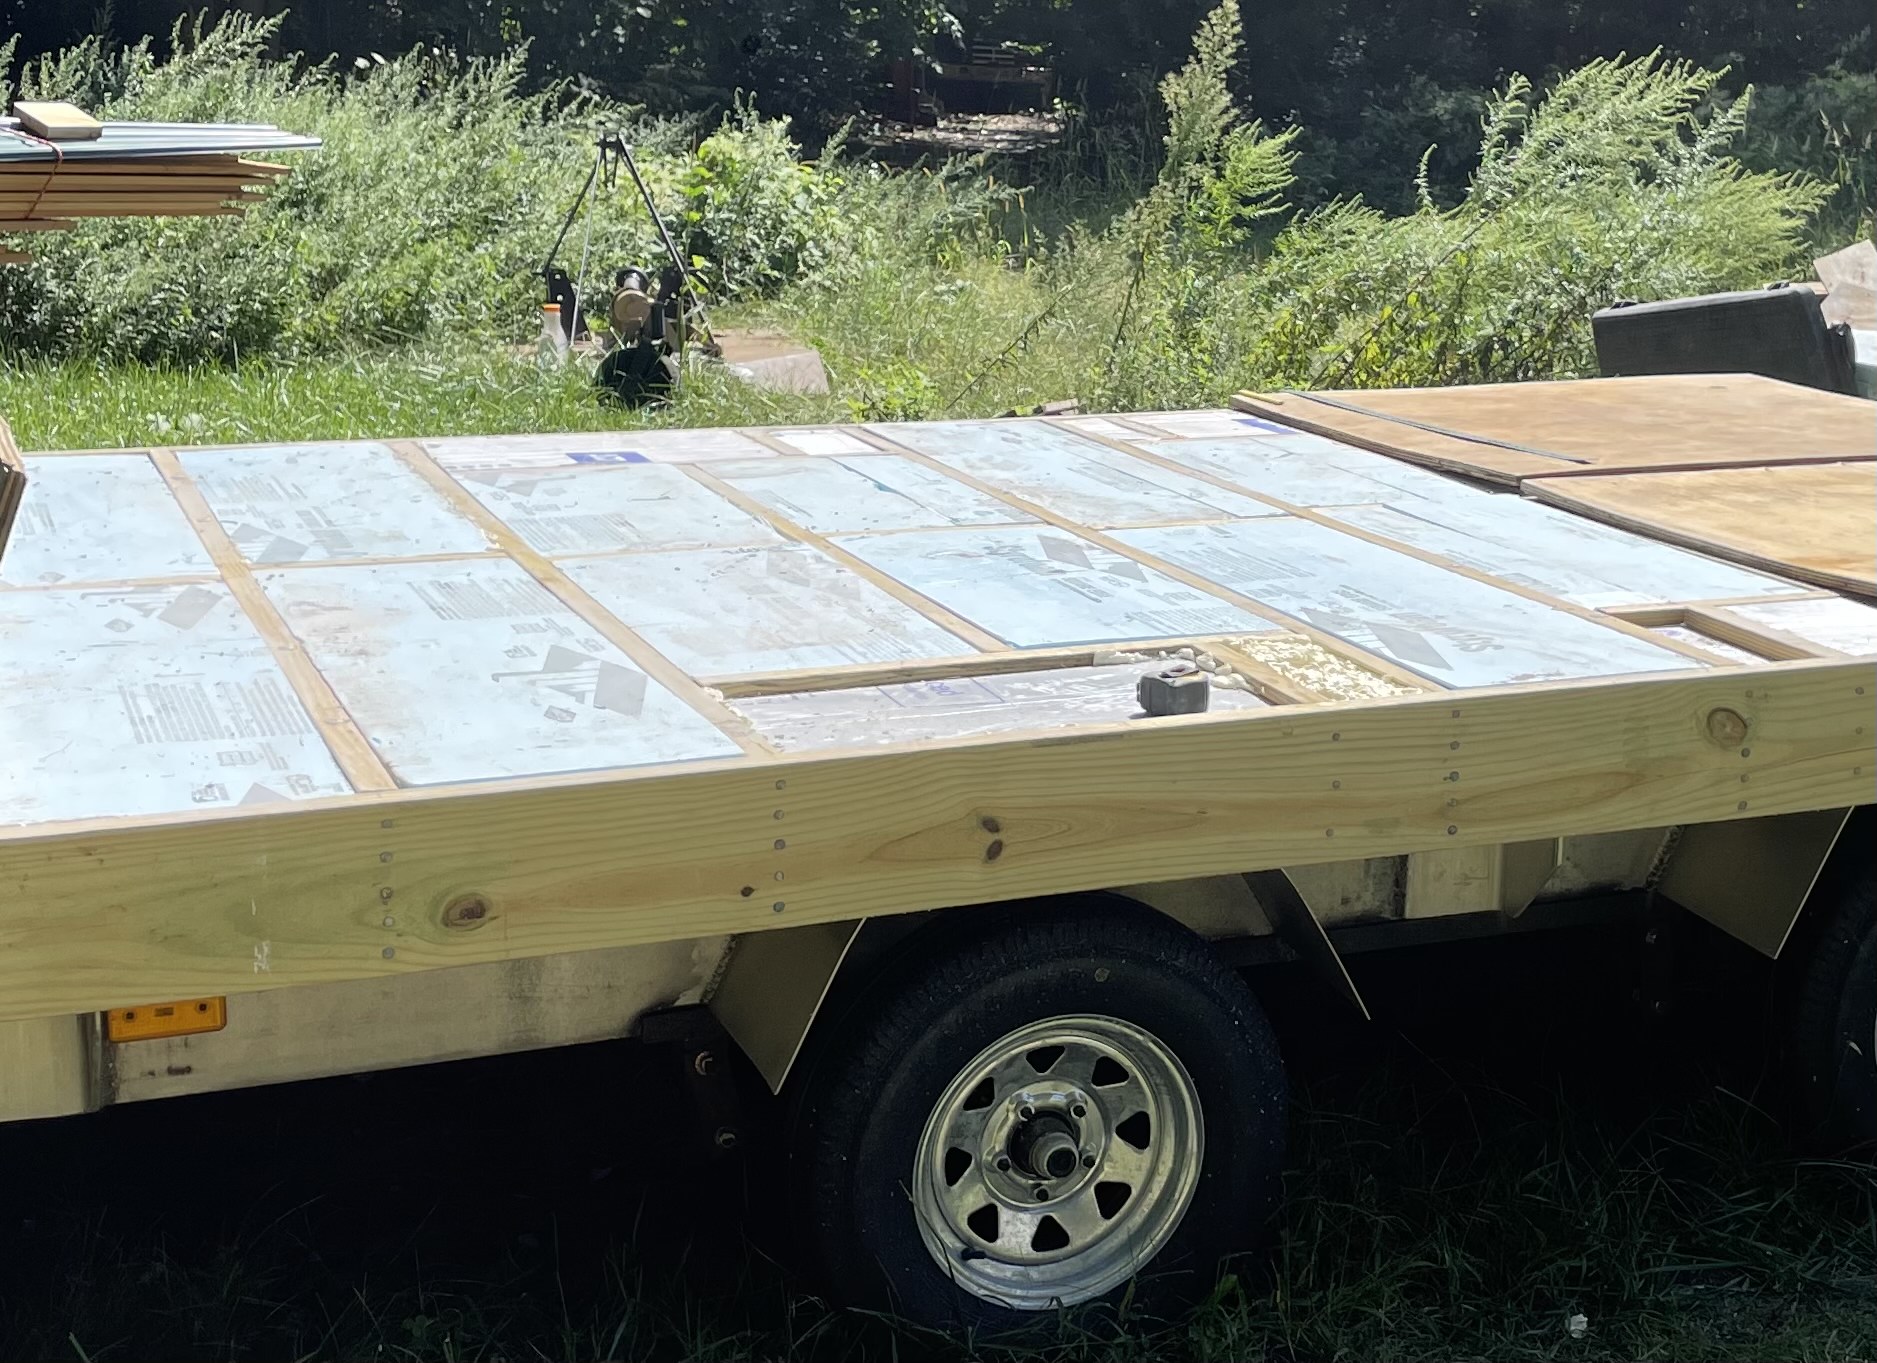
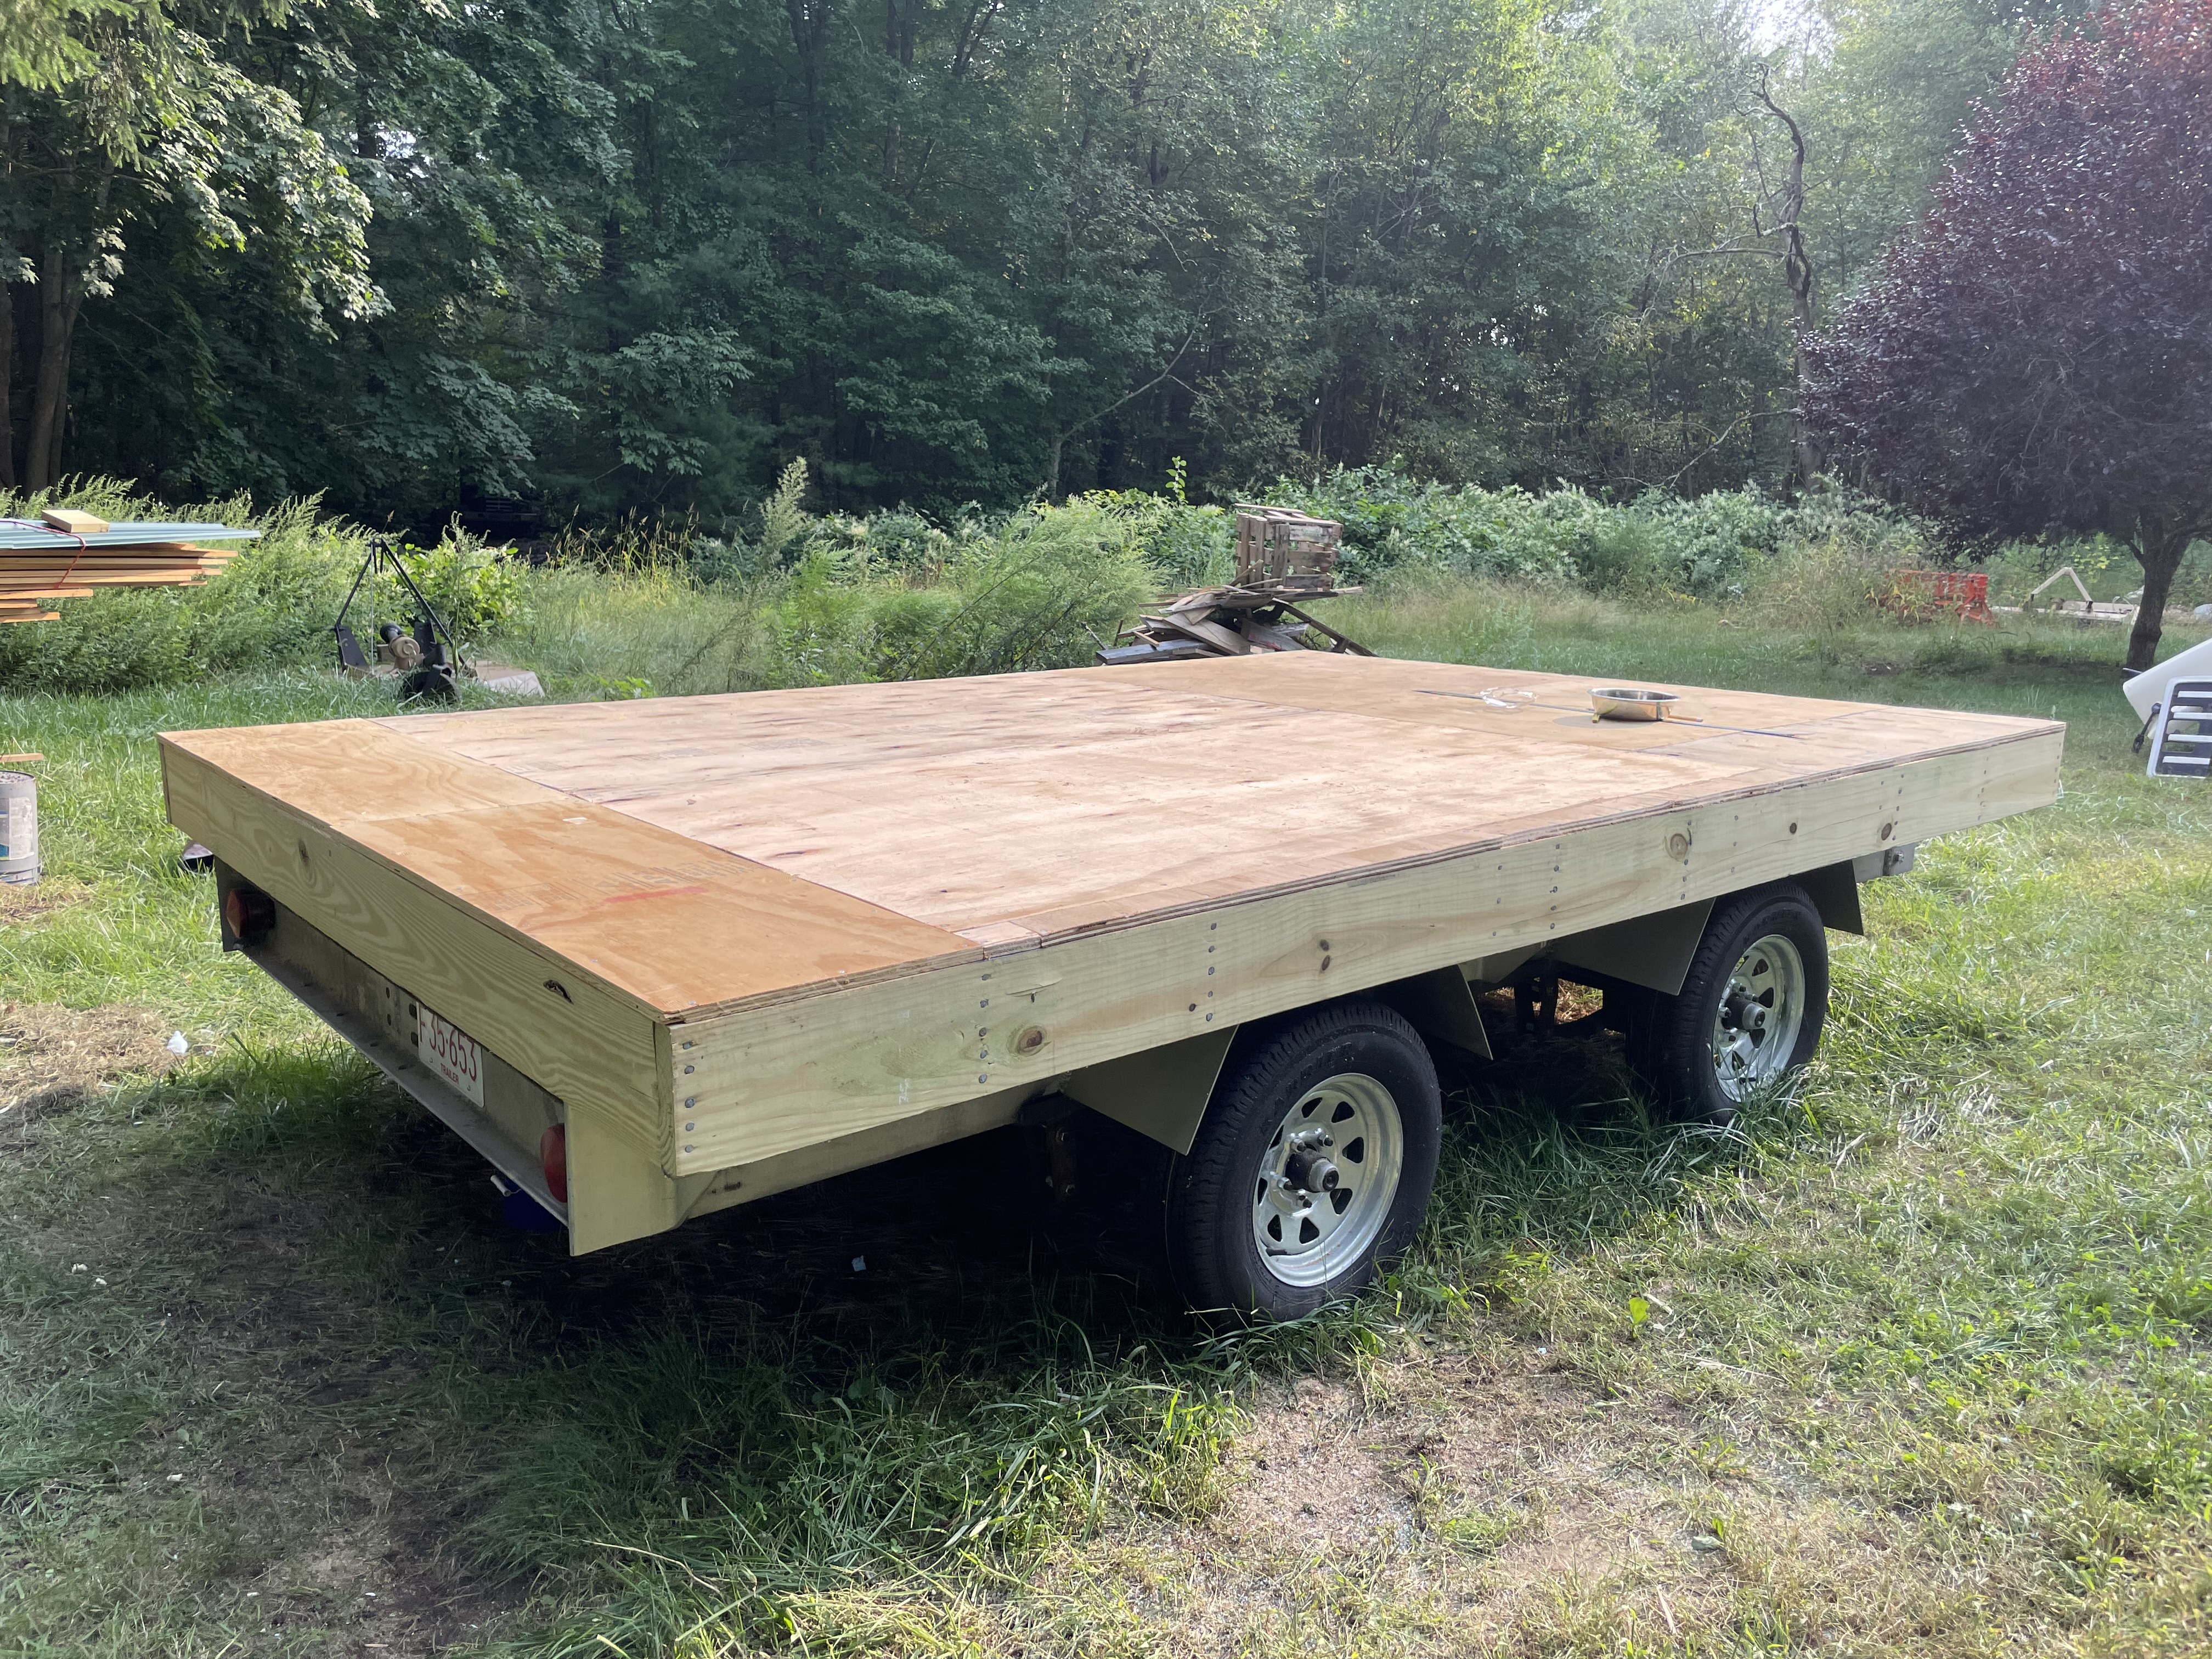
As I tacked on a few sheets of 3/4″ plywood subfloor, my dog Yoda hopped up. He approves.
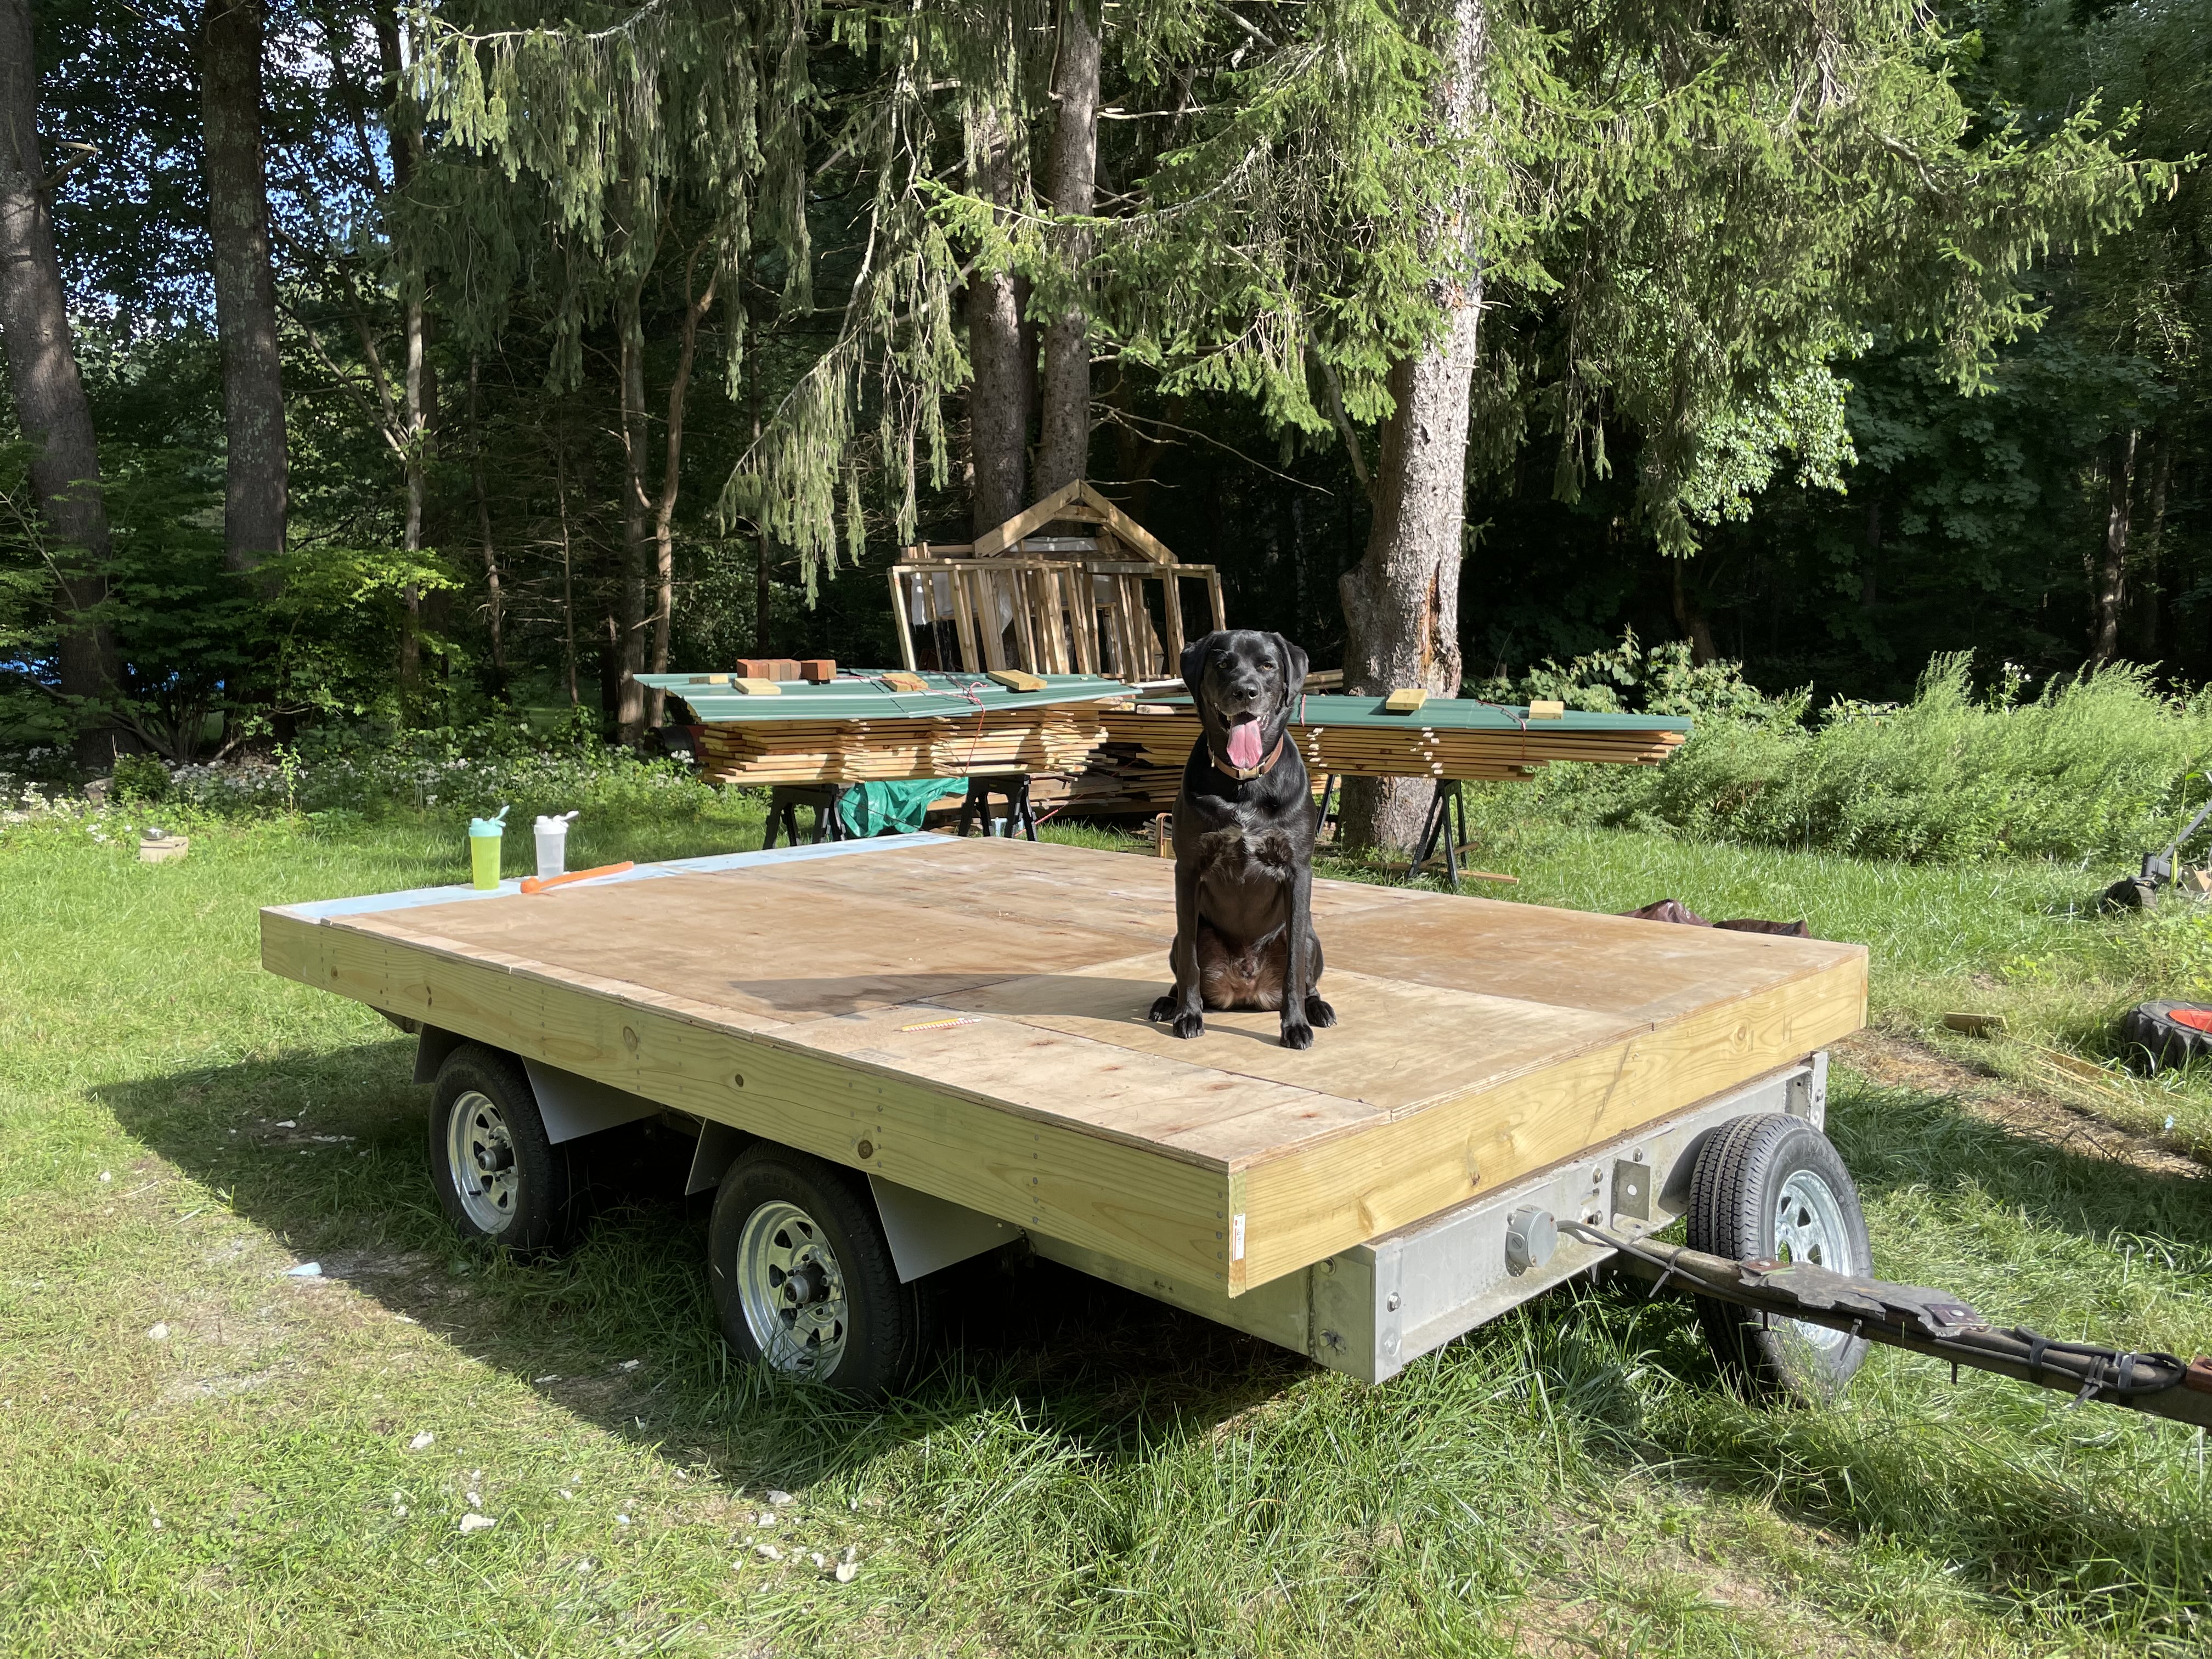
Once I install a couple floor drains, I’ll be ready to start framing. (Update: Definitely not ready to start framing.)